Once the candidate is hired, users with access rights can create a training class for the selected candidate or search for a particular class.
NOTE: This training is applicable for the Operators only.
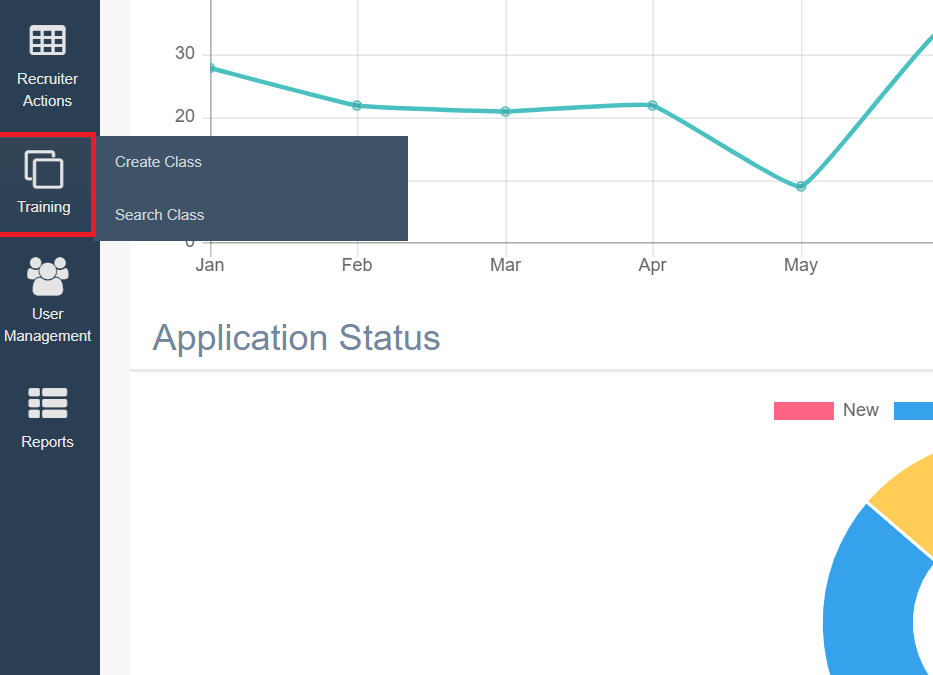
Once you select Training, there are 2 tabs:
- Create Class
- Search Class
Let’s understand each tab in detail.
Create Class
The authorized users can create a training class for the required candidate(s) who are newly onboarded with Etech.
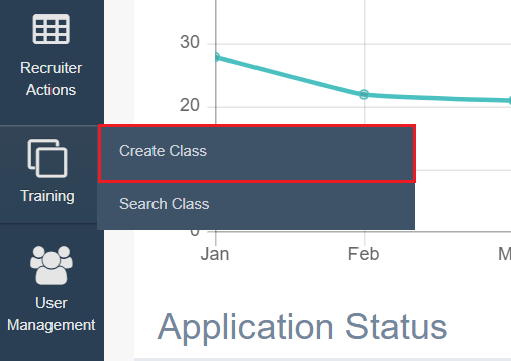
To create a new class, select Training > Create Class.
The Create Class page will be displayed as shown below:
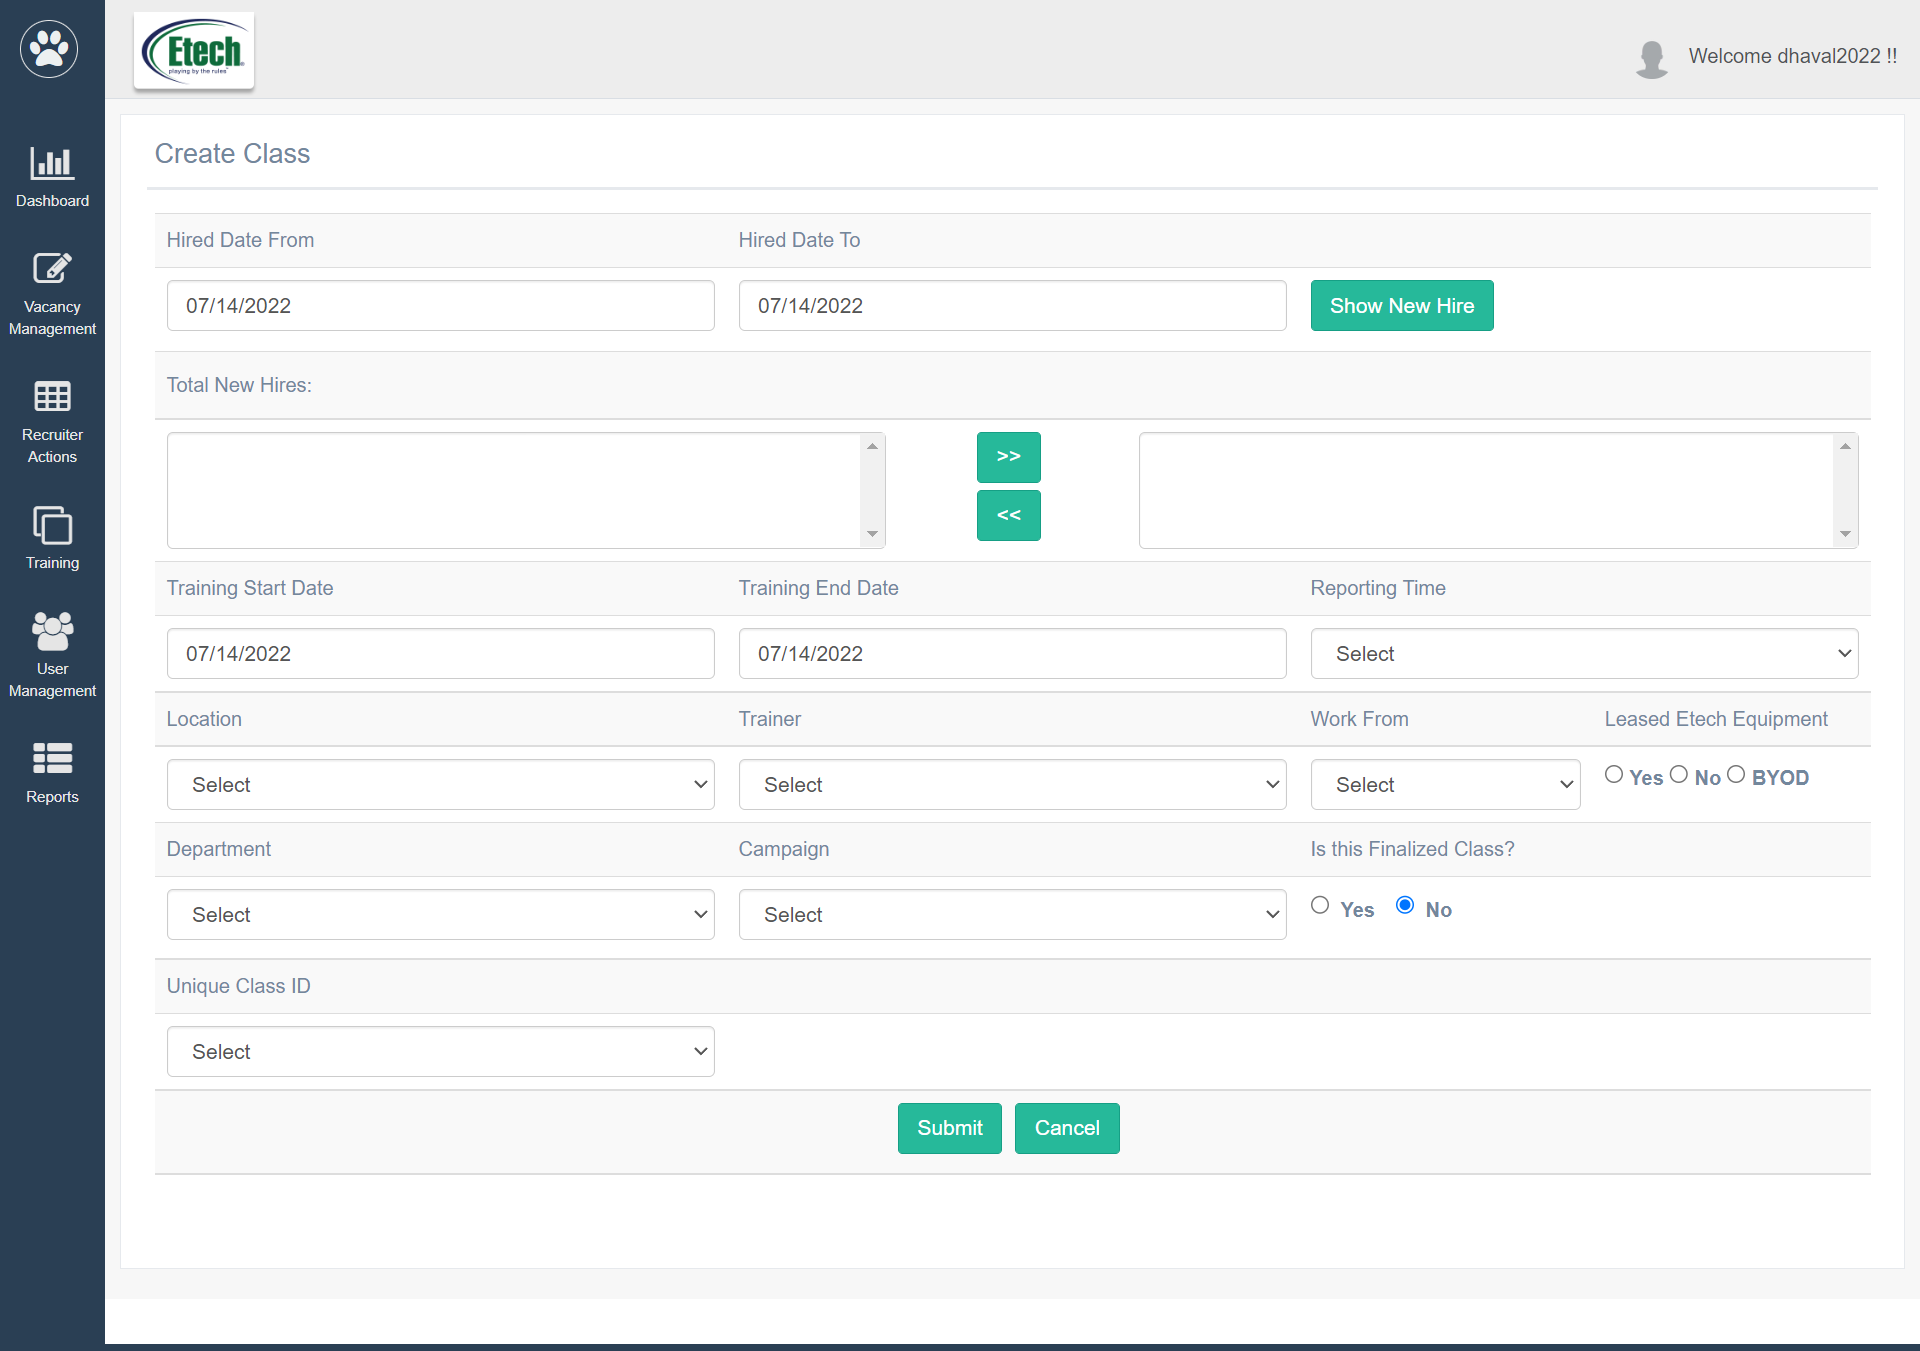
Configure the following fields displayed on this page:
- Hired Date From – Hired Date To: Select the date range to view the candidates who were hired within the selected time period.
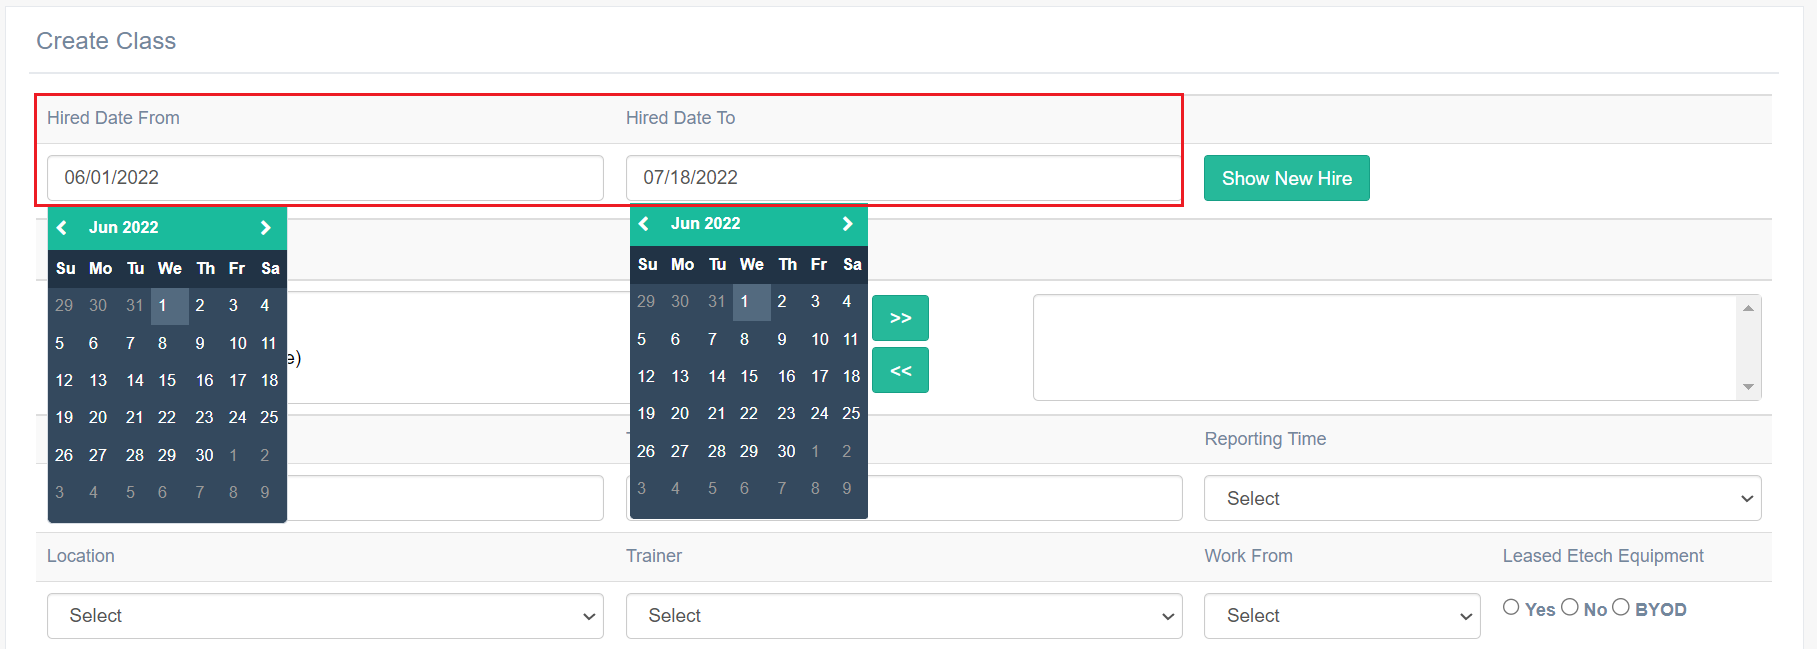
Click Show New Hire.
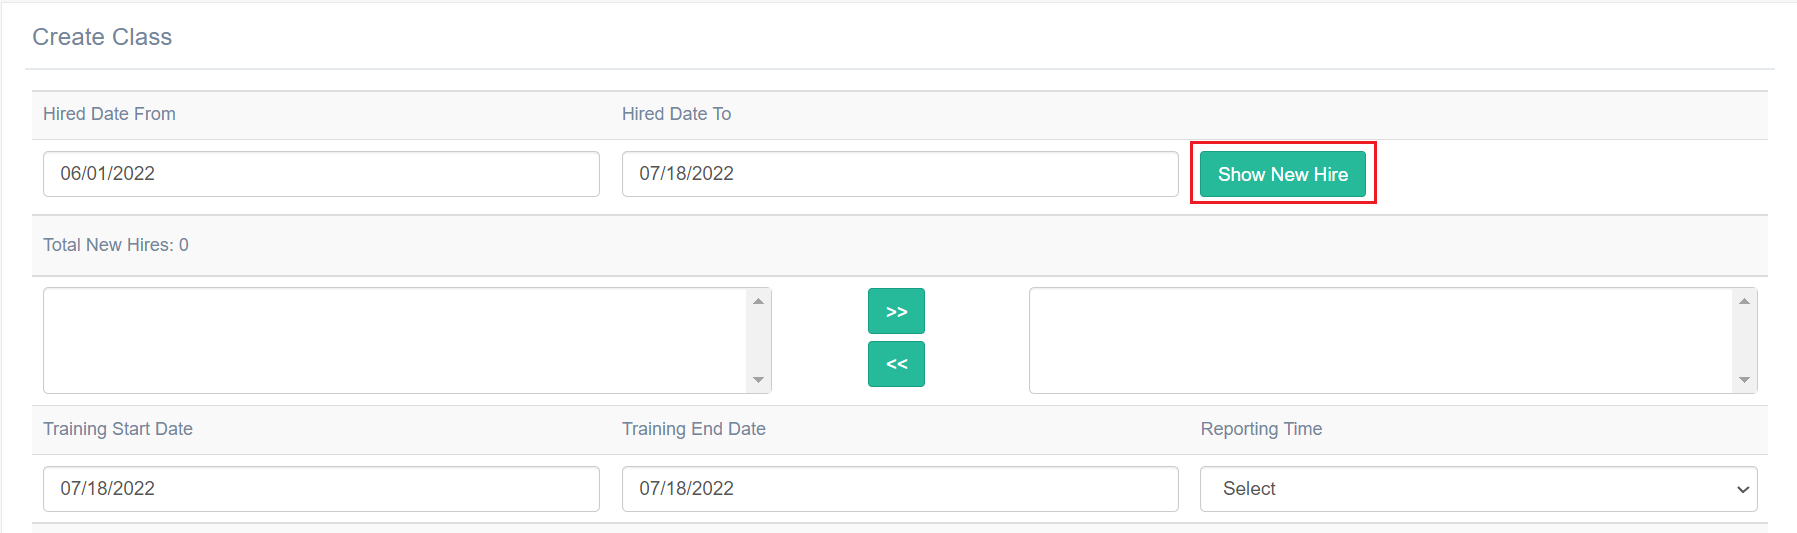
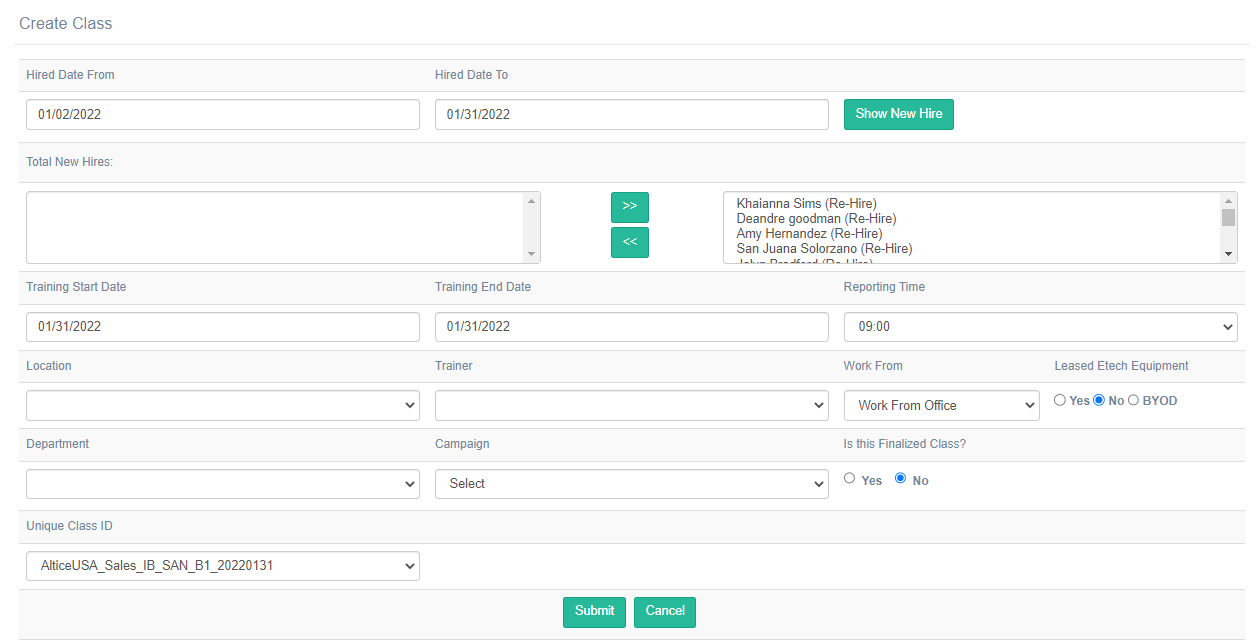
Under Total New Hires, the name(s) of the candidate(s) hired within the specified period will be displayed as shown below:
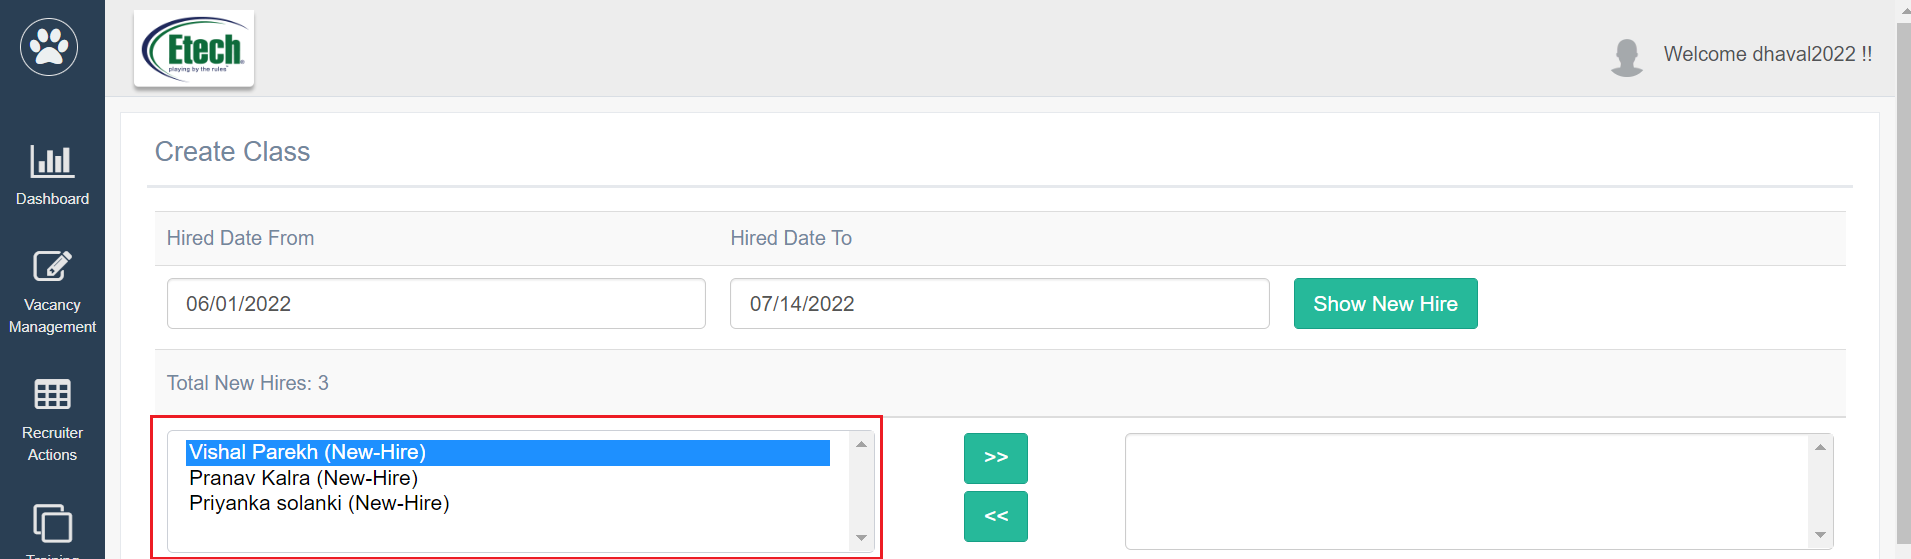
Now select the name of the candidate displayed on the left box. Then, click on the move right icon to add the candidate to the particular class. The icon is highlighted on the following screen:
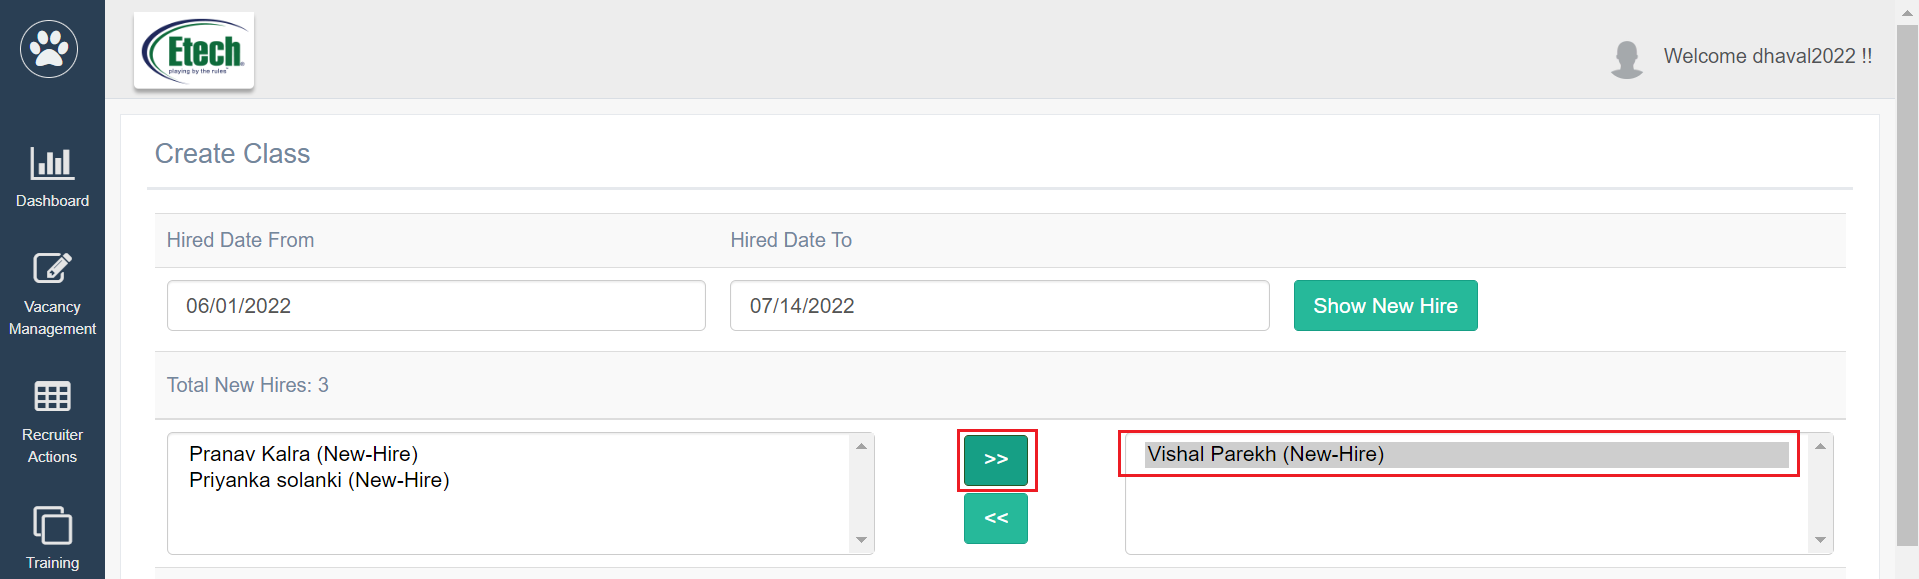
Then, the selected name will be moved to the right box as shown on the above screen.
Once you add the candidate and want to remove a candidate from this class, select the name displayed in the right box. Then, click on the move left icon. The icon is highlighted on the following screen:
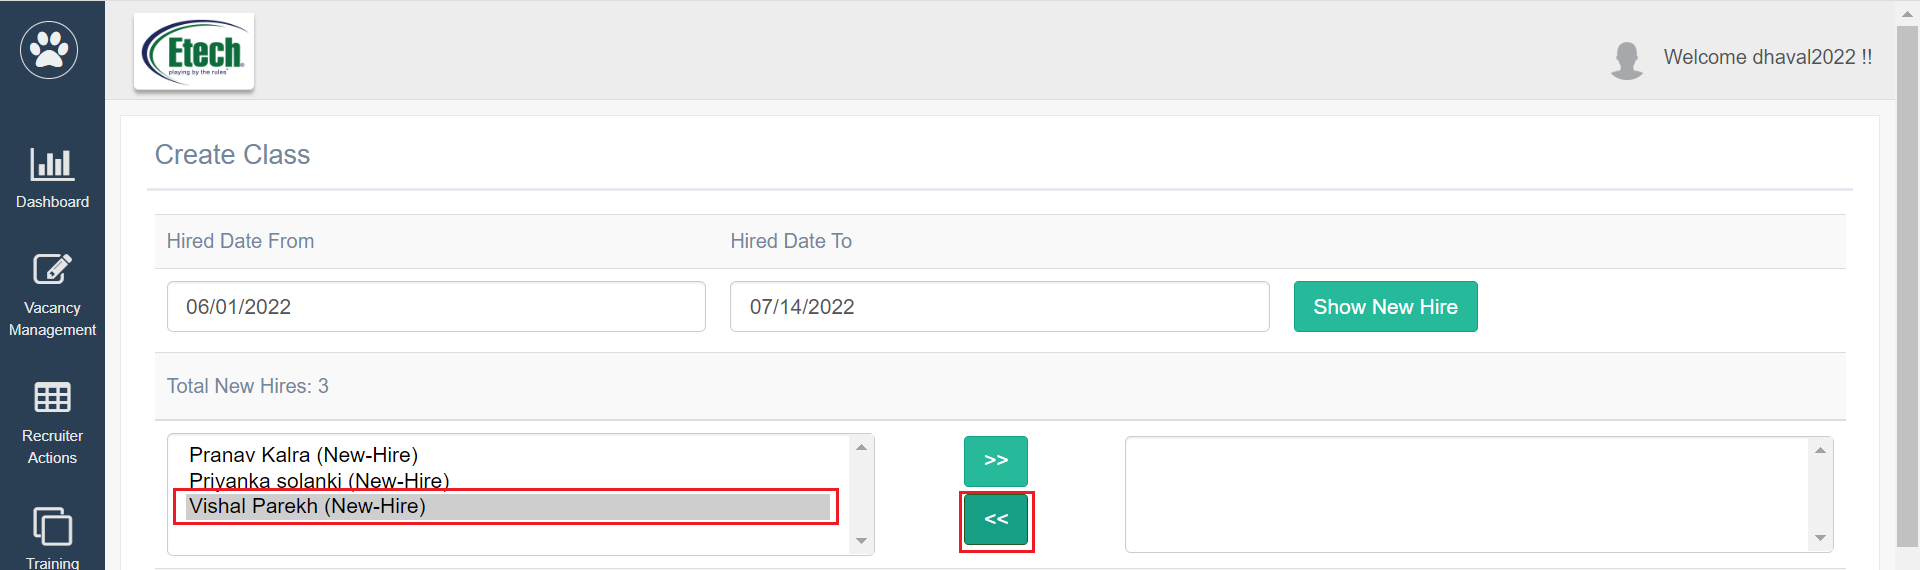
Then, the selected name will be moved to the left box as shown on the above screen.
NOTE: You require at least one candidate to create a class.
- Training Start & End Date: Enter the training start and the end date to define the training period for the candidates.
- Reporting Time: Select the reporting time for candidates from the dropdown list.
- Location: Select the location of the training.
- Trainer: Select the name of the trainer who will conduct this class.
- Work From: Select an option – Work From Home or Work From Office.
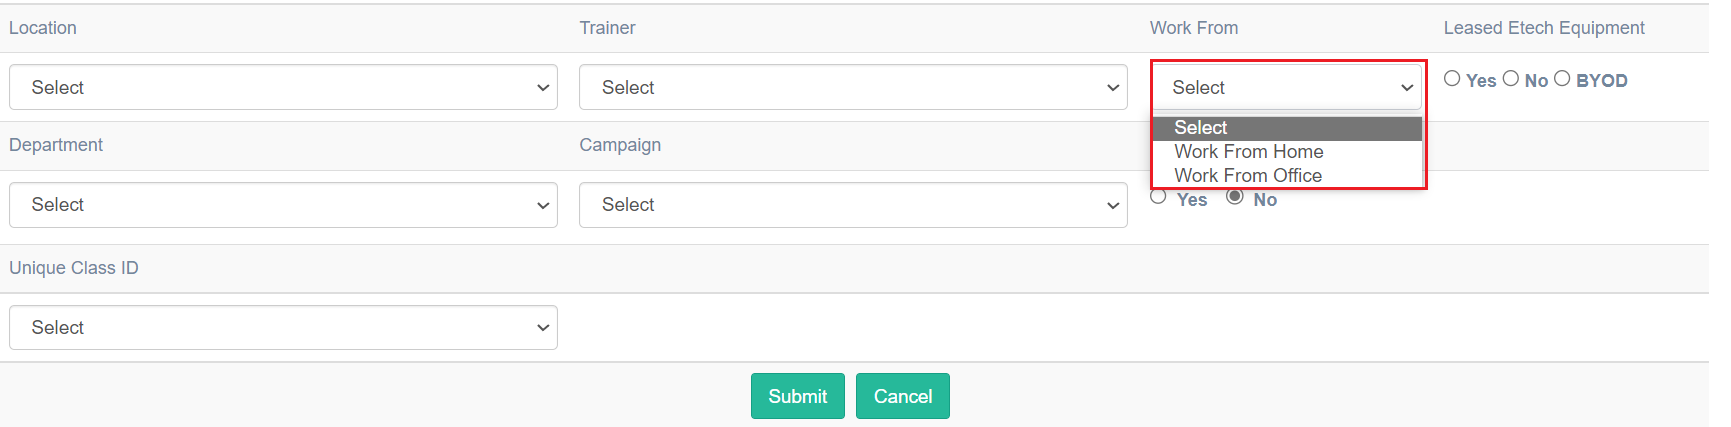
- Leased Etech Equipment: Select the option.
- Click Yes if the Etech equipment has been leased.
- Click No if the Etech Equipment has not been leased.
- Click BYOD if the candidate is using their own devices.
- Department*: Select the department.
- Campaign*: Select the campaign
- Is this Finalized Class?: Select either Yes/ No to confirm whether the created class is finalized or not.
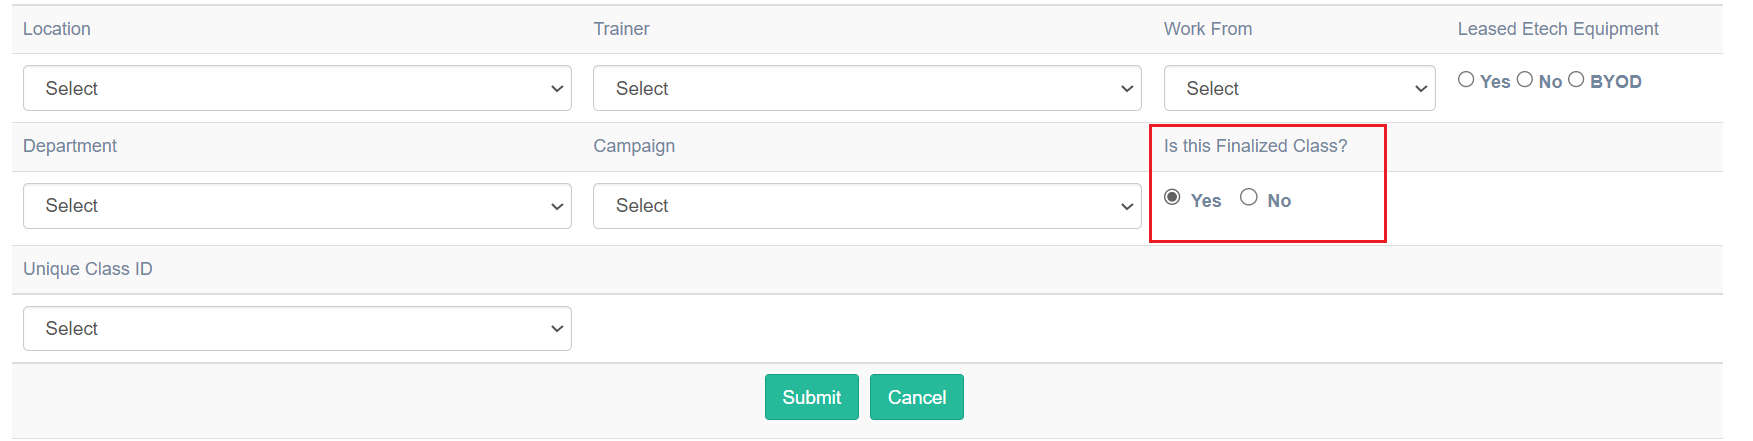
NOTE: Once the class is finalized, the user will not be allowed to update any details of this class.
- Unique Class ID: Select the unique ID displayed under the dropdown list. This Unique ID will be generated in the ERRIS once the requester raises the request to schedule training for employees.
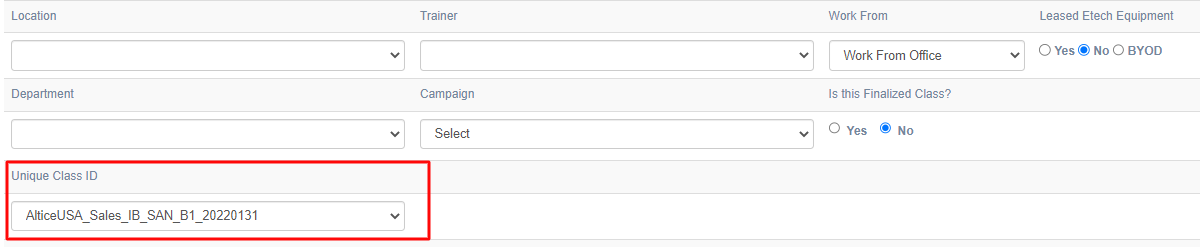
Click Submit.
The ATS system shares an email about the scheduled training class details with the respective candidate when the training is scheduled and the class is finalized.
Search Class
The authorized users can verify the created training class details by searching classes based on various criteria. If the class is not finalized, class details can be updated. Once it is finalized and submitted, no details can be further edited.
To search for any specific training class, select Training > Search Class.
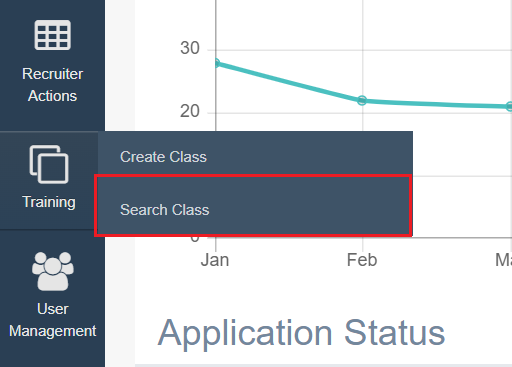
The Search Class page will be displayed as shown below:
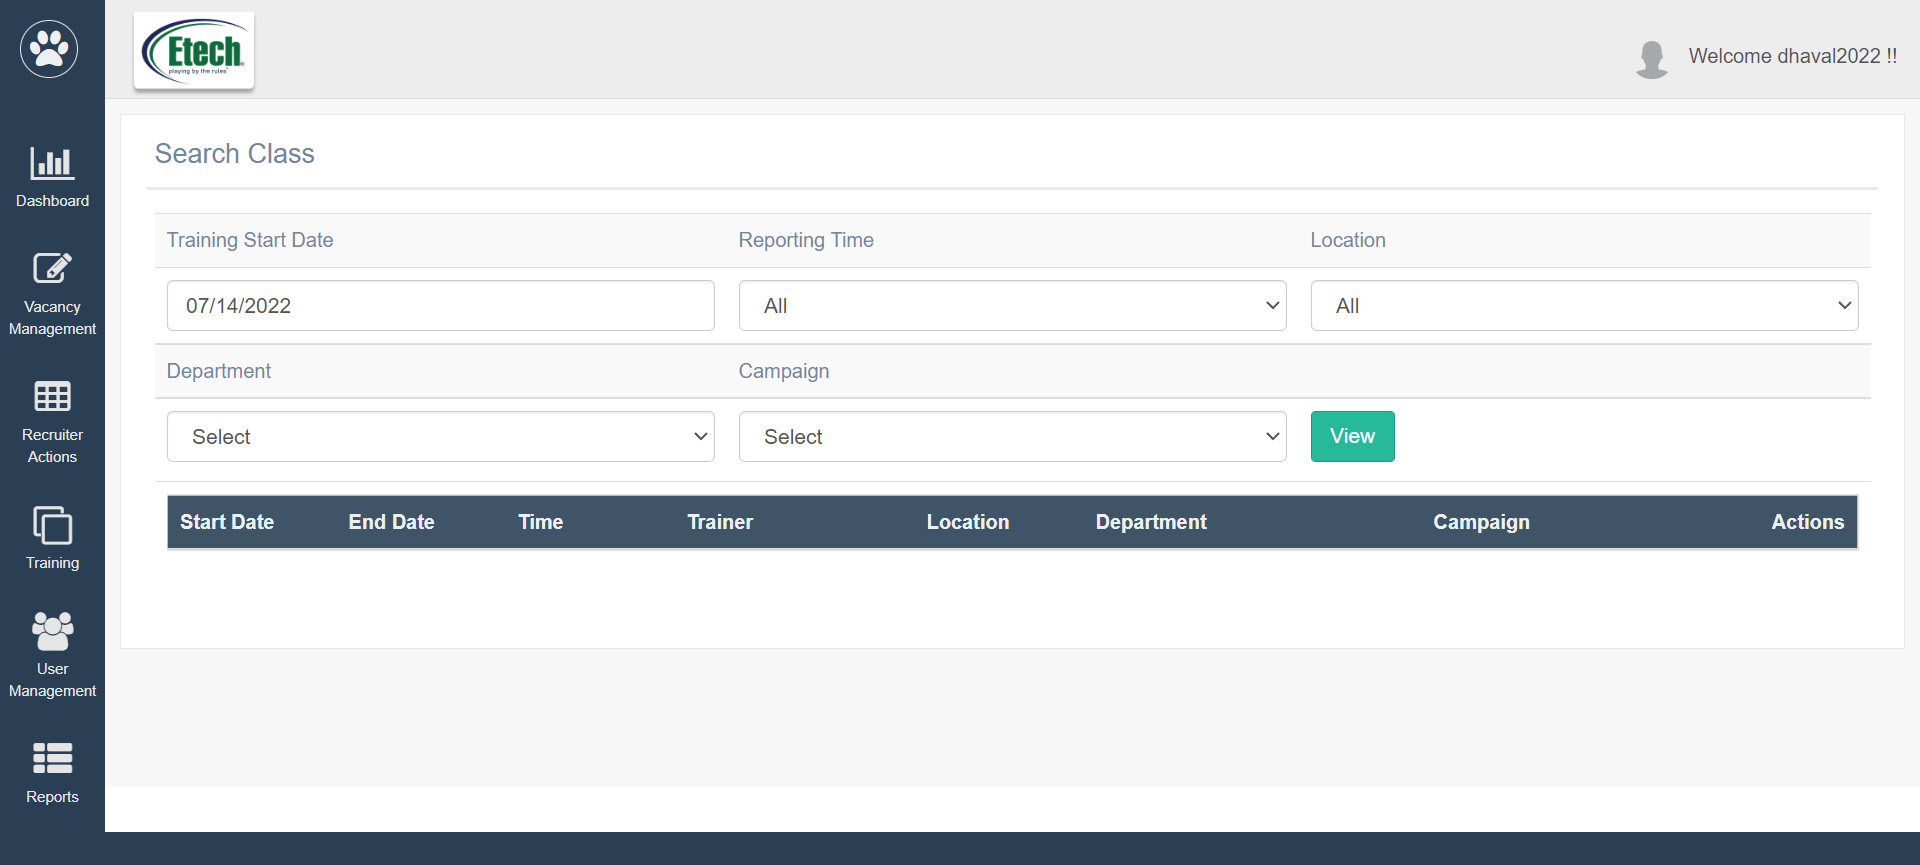
Set the following filters to search for any specific training:
- Training Start & End Date: Select the training start and the end date to set the date range.
- Reporting Time: Select the reporting time for candidates from the dropdown list.
- Location: Select the location of the training.
- Department: Select the department from the dropdown list.
- Campaign: Select the campaign from the dropdown list.
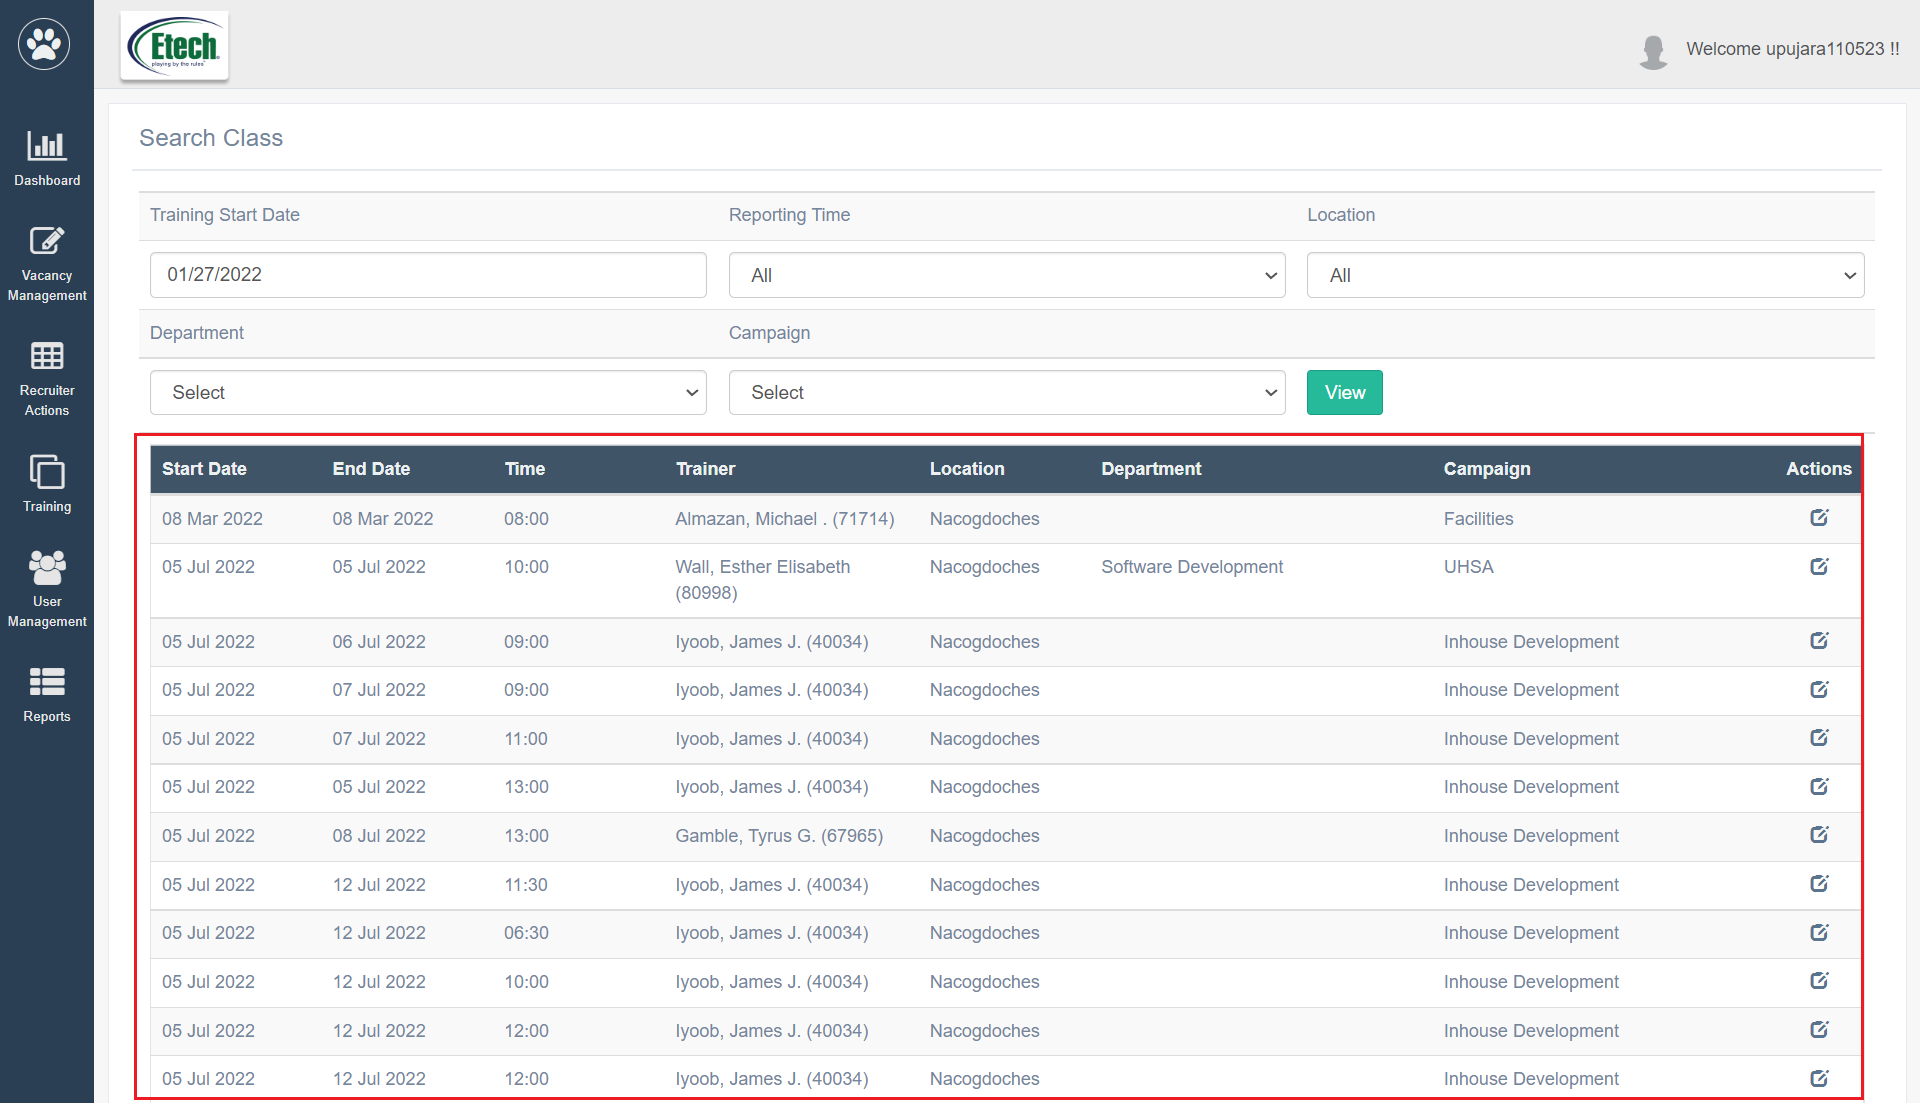
Once the search filters are set, click on the View button. Based on the set filters the training class details will be listed on the same screen as shown below:
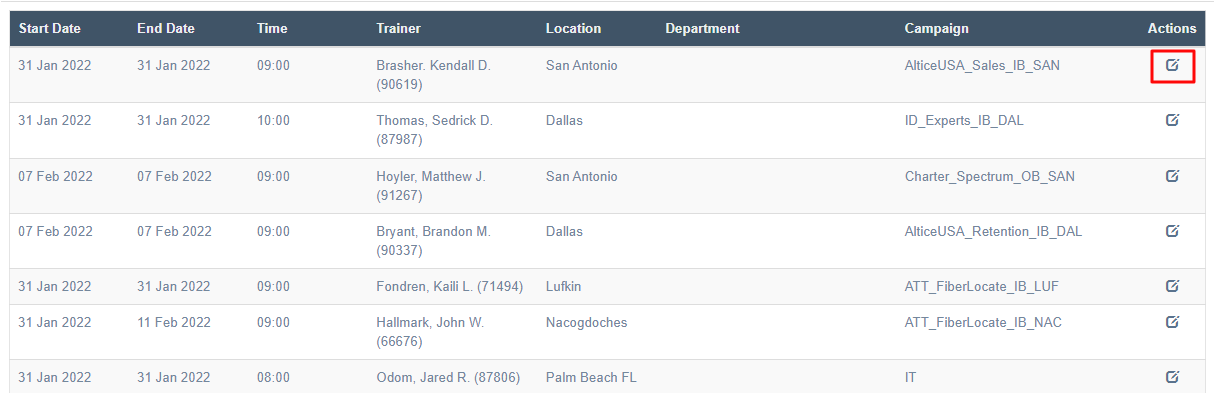
If the class is not finalized, then the class details can be updated. To update, click on the Edit ![]() icon displayed under the Action column of the training class grid.
icon displayed under the Action column of the training class grid.
The Create Class page will be displayed from where the required information and click on the Submit button.