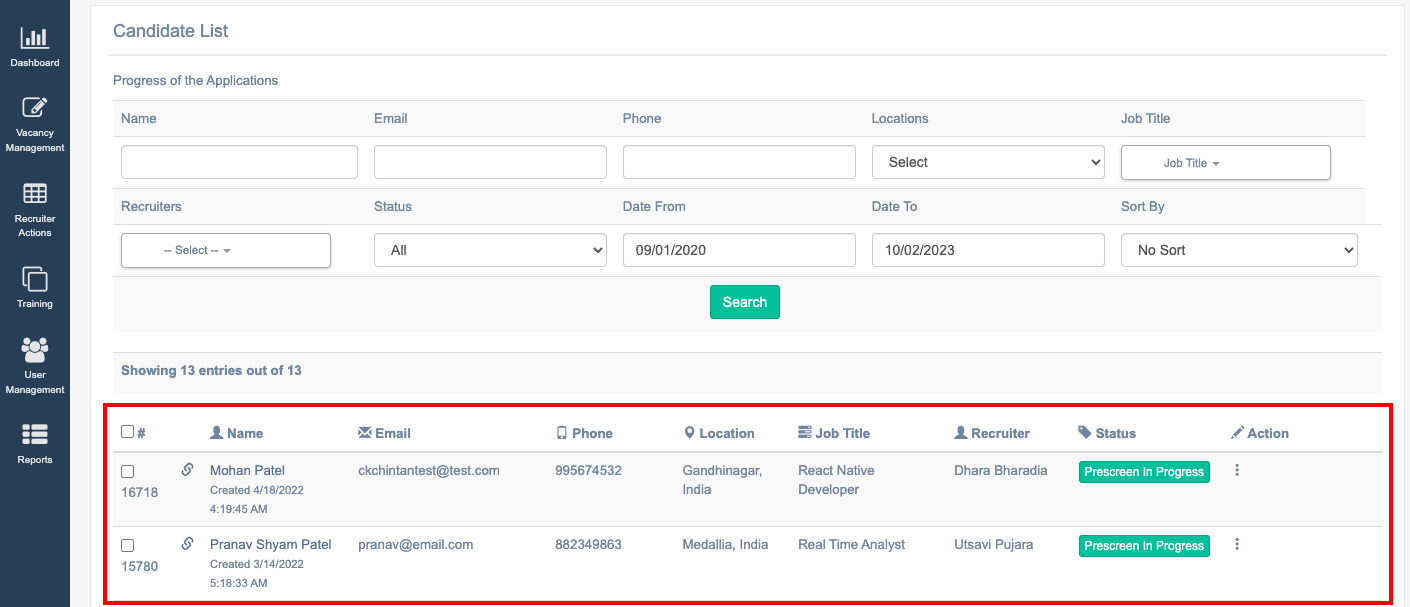
The Document Upload & Schedule tab allows the recruiters to set and edit the work schedule of a candidate and can also upload any documents like Address Proof, Identity Proof or certificates, etc.
To access this tab, select Recruiter Action > Candidate List > Action Column.
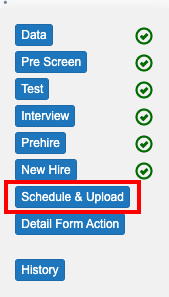
Click on the Document Upload & Schedule tab.
The Document Upload & Schedule page will appear as shown below:
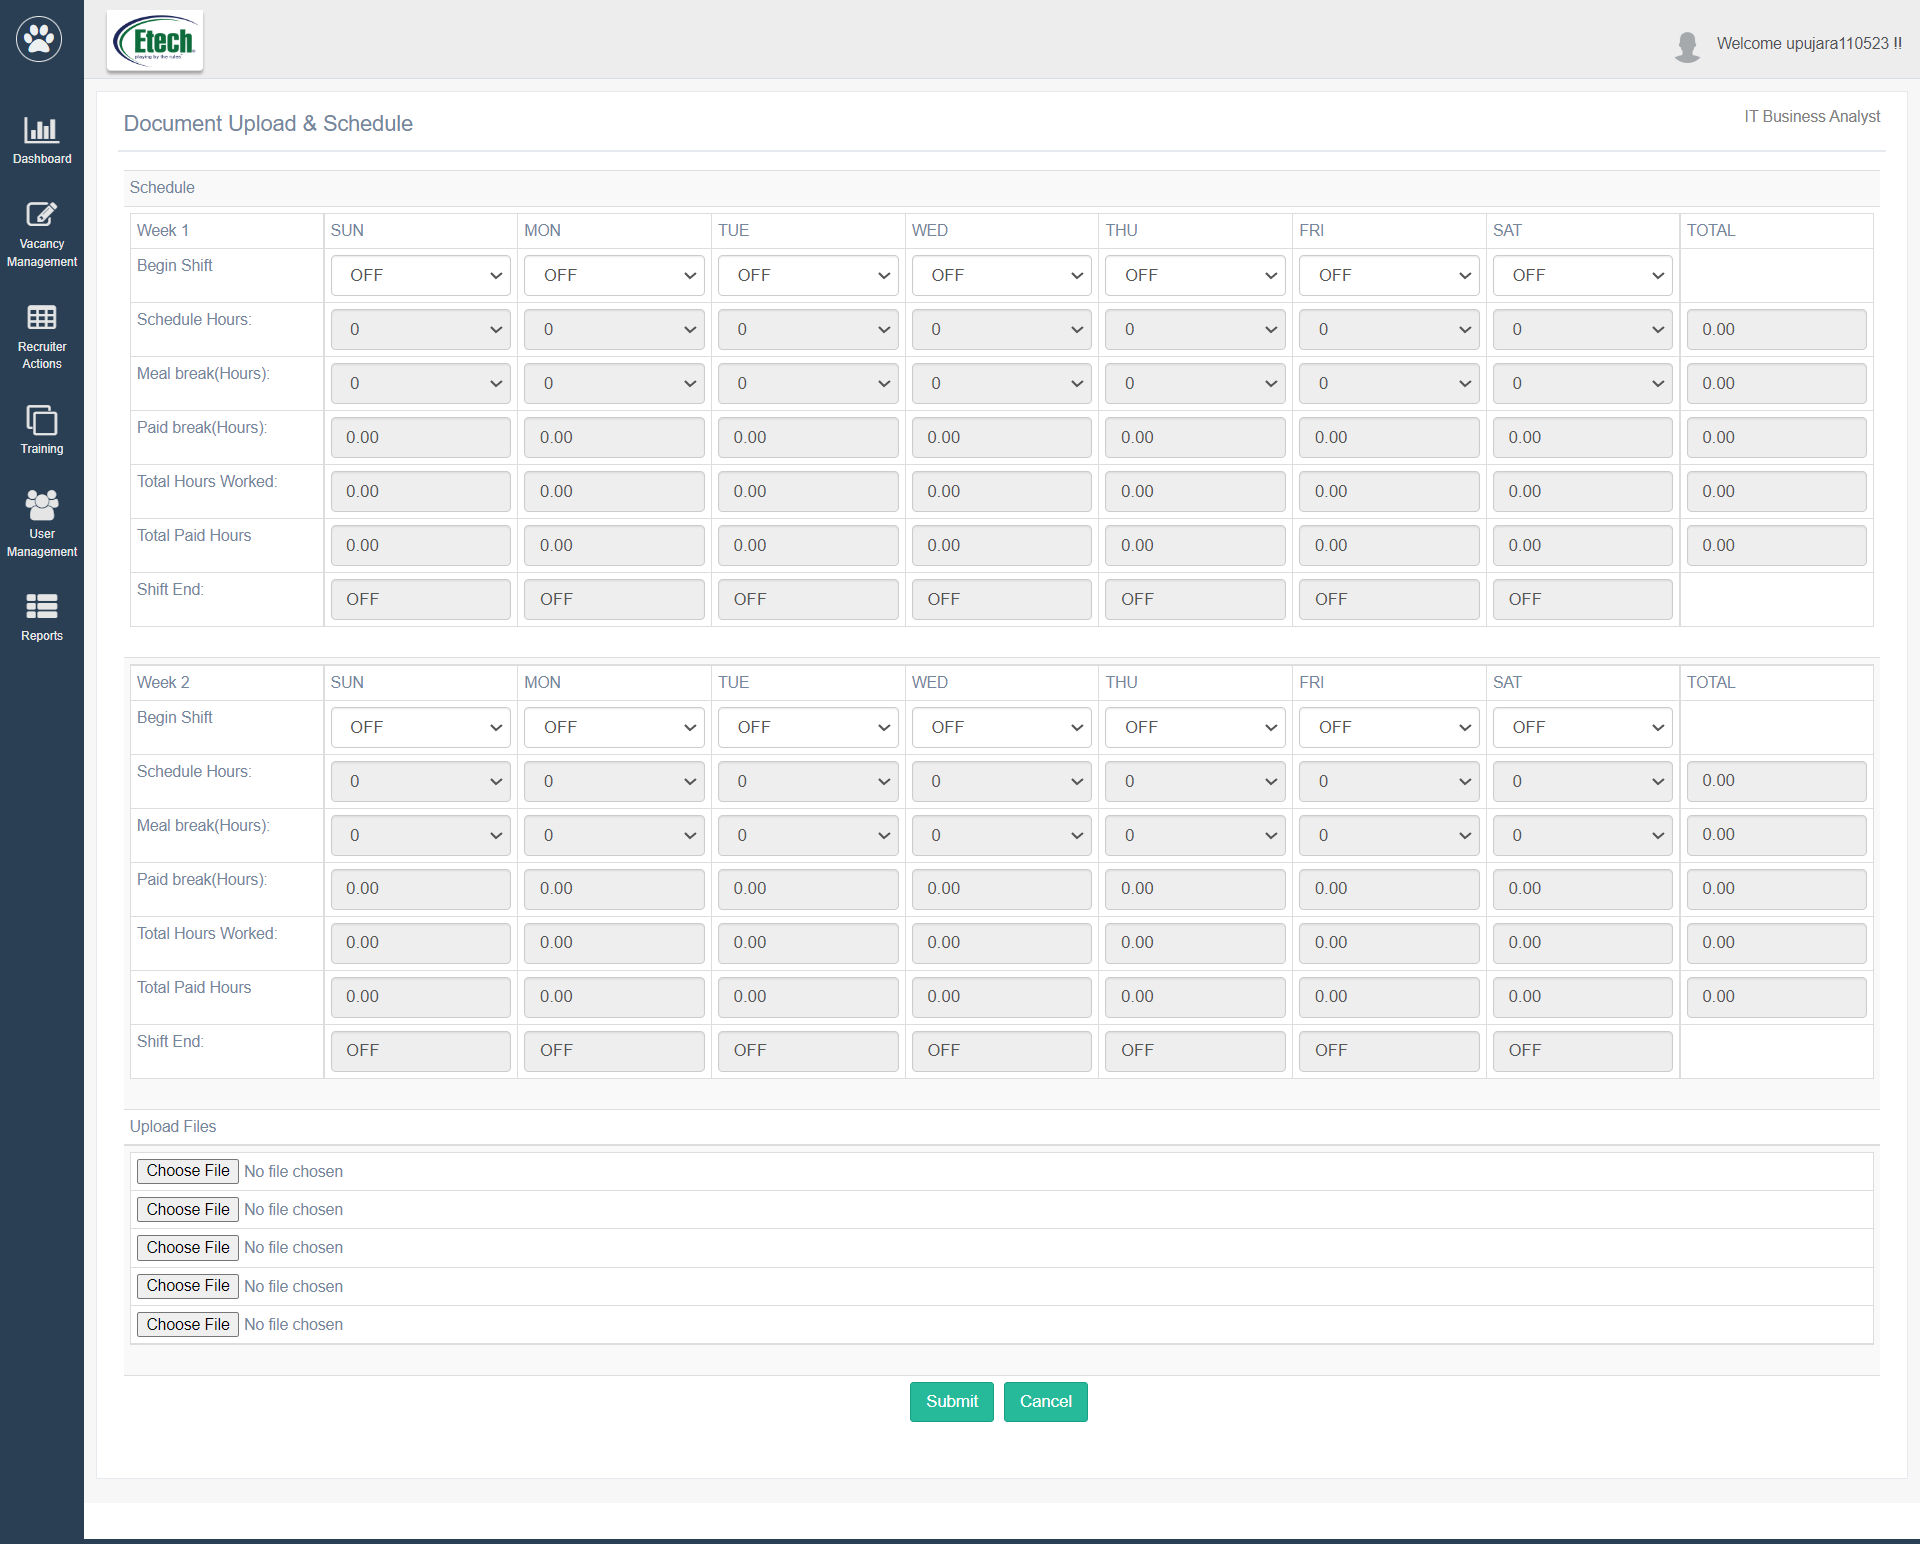
On this page, the first section is to set the daily work schedule of a candidate for different weeks. The second section is to upload the necessary documents.
Let’s understand each section in detail.
Schedule
In this section, the recruiters can set the daily work schedule of a candidate for two weeks.
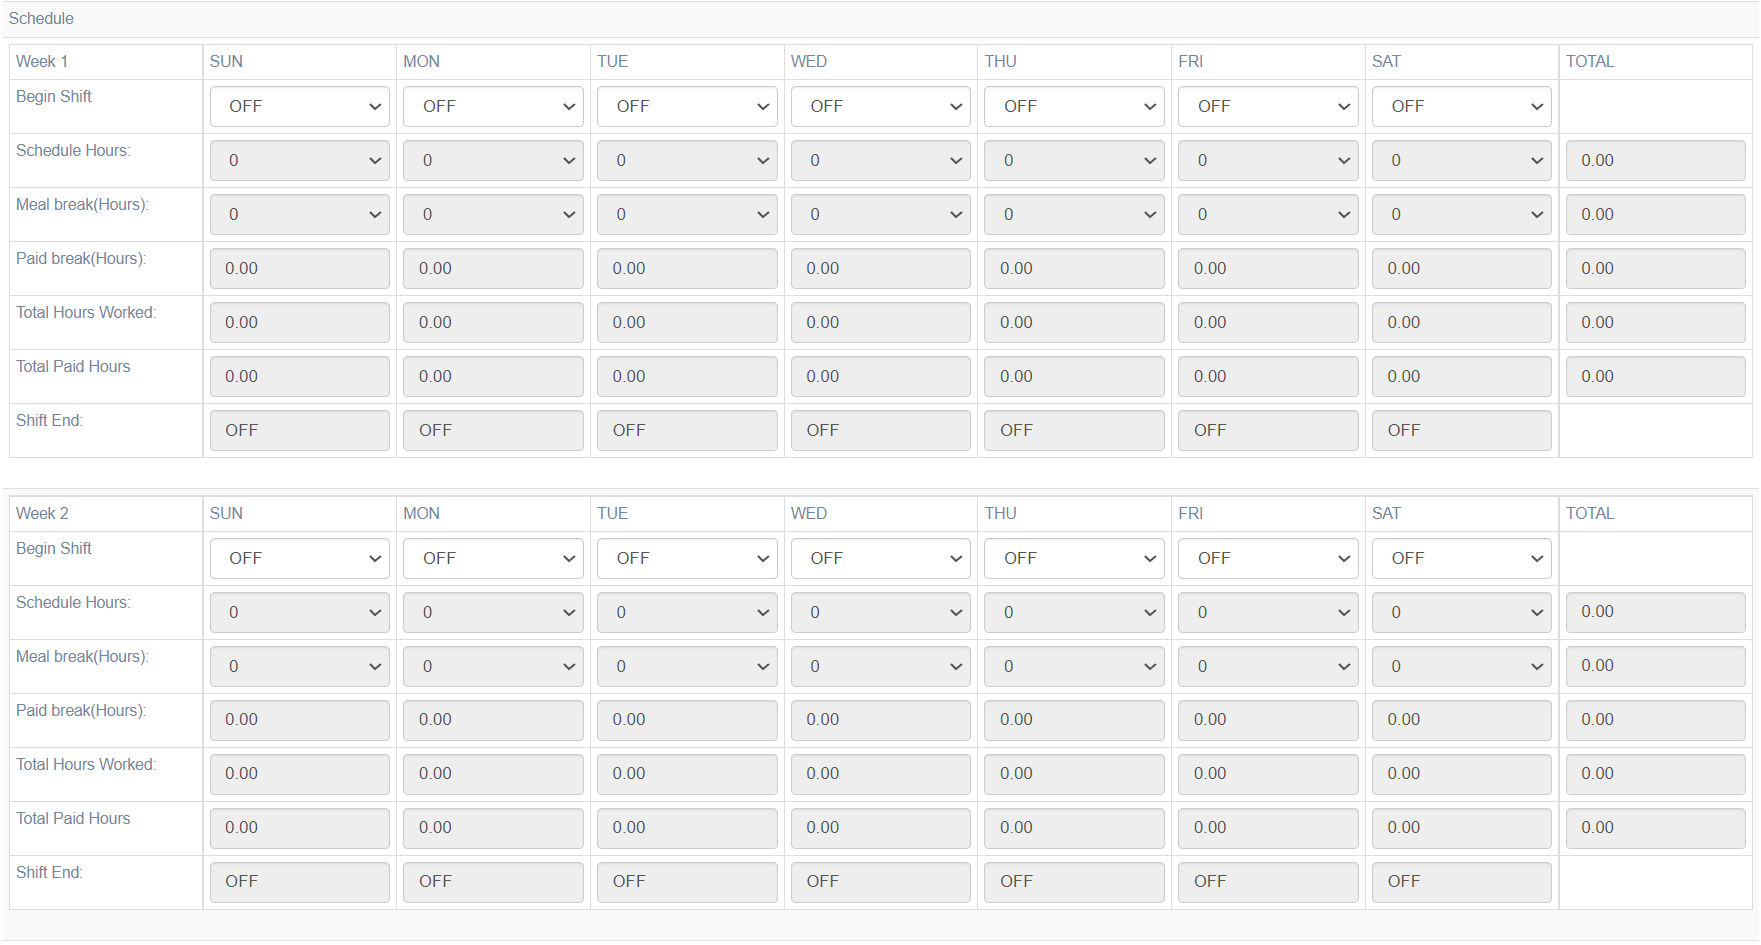
The first row displays the name of the weekdays – Sunday, Monday, Tuesday, etc.
The first column displays the name of different categories – Begin Shift, Schedule Hours, Meal break(Hours), Paid break(Hours), Total Hours Worked, Total Paid Hours, and Shift End.
For Begin Shift, under the required weekday(s), select the applicable shift start time from the dropdown list as shown below:
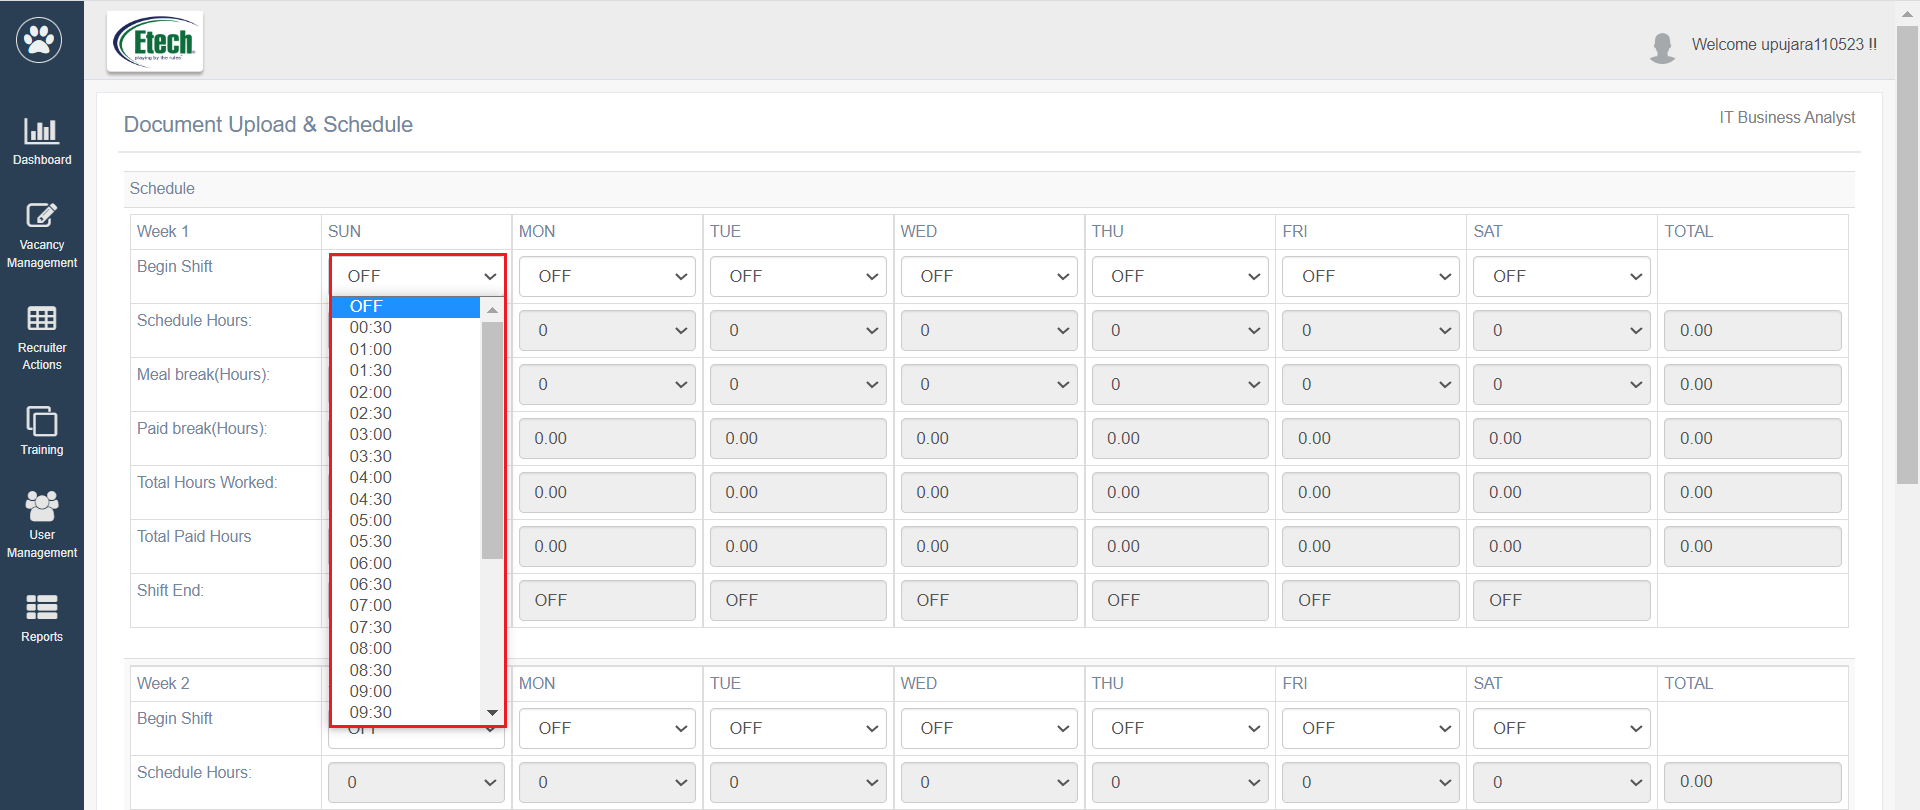
To provide a week off on any day, select the OFF option from the dropdown list.
Once the Begin Shift time is configured, the Schedule Hours and Meal break(Hours) fields will be enabled to configure.
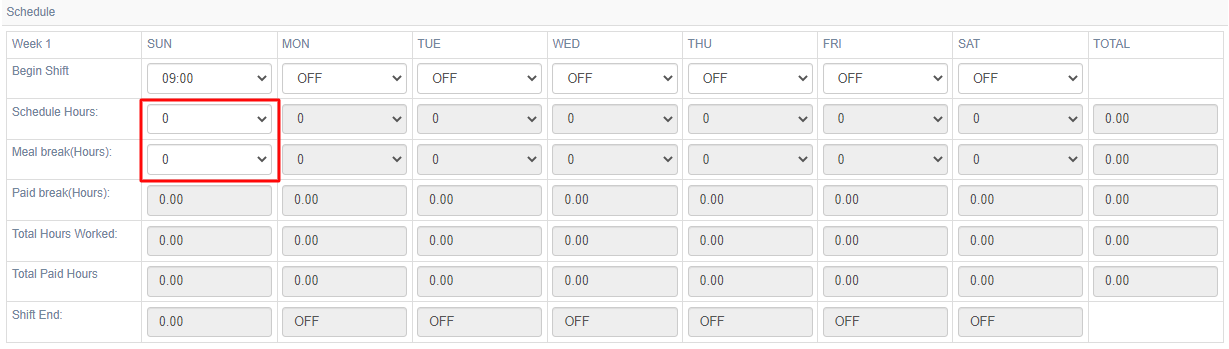
Firstly, configure the Schedule Hours from the dropdown list.
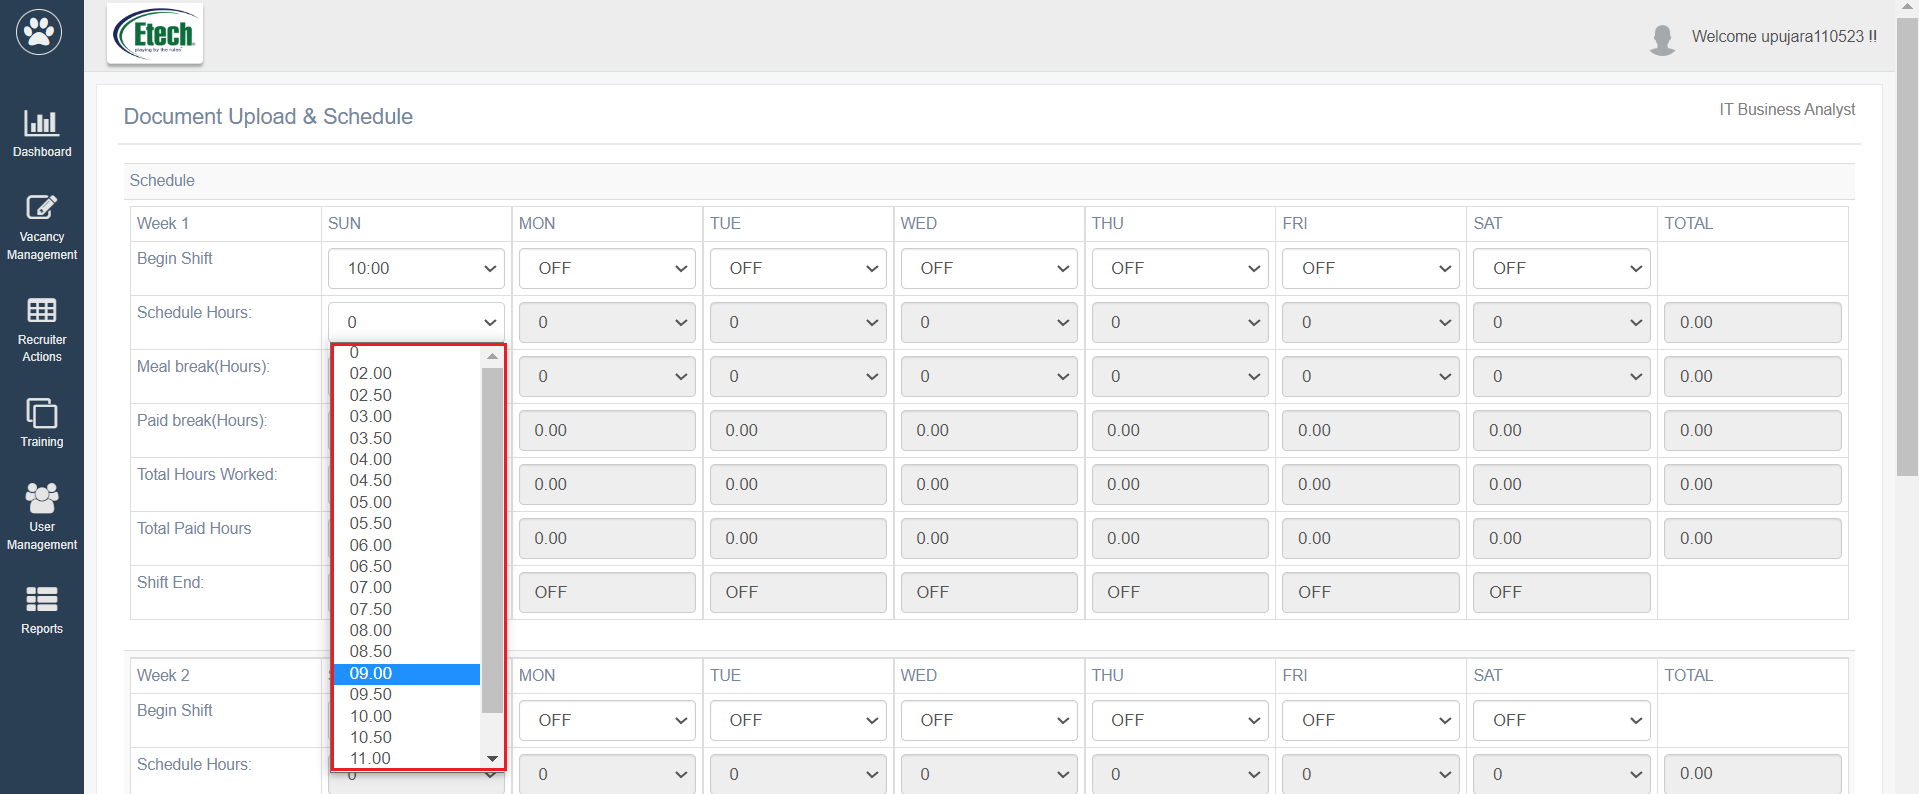
Based on the selection of the Schedule Hours, the system will automatically calculate and display the hours for each remaining category as shown below:
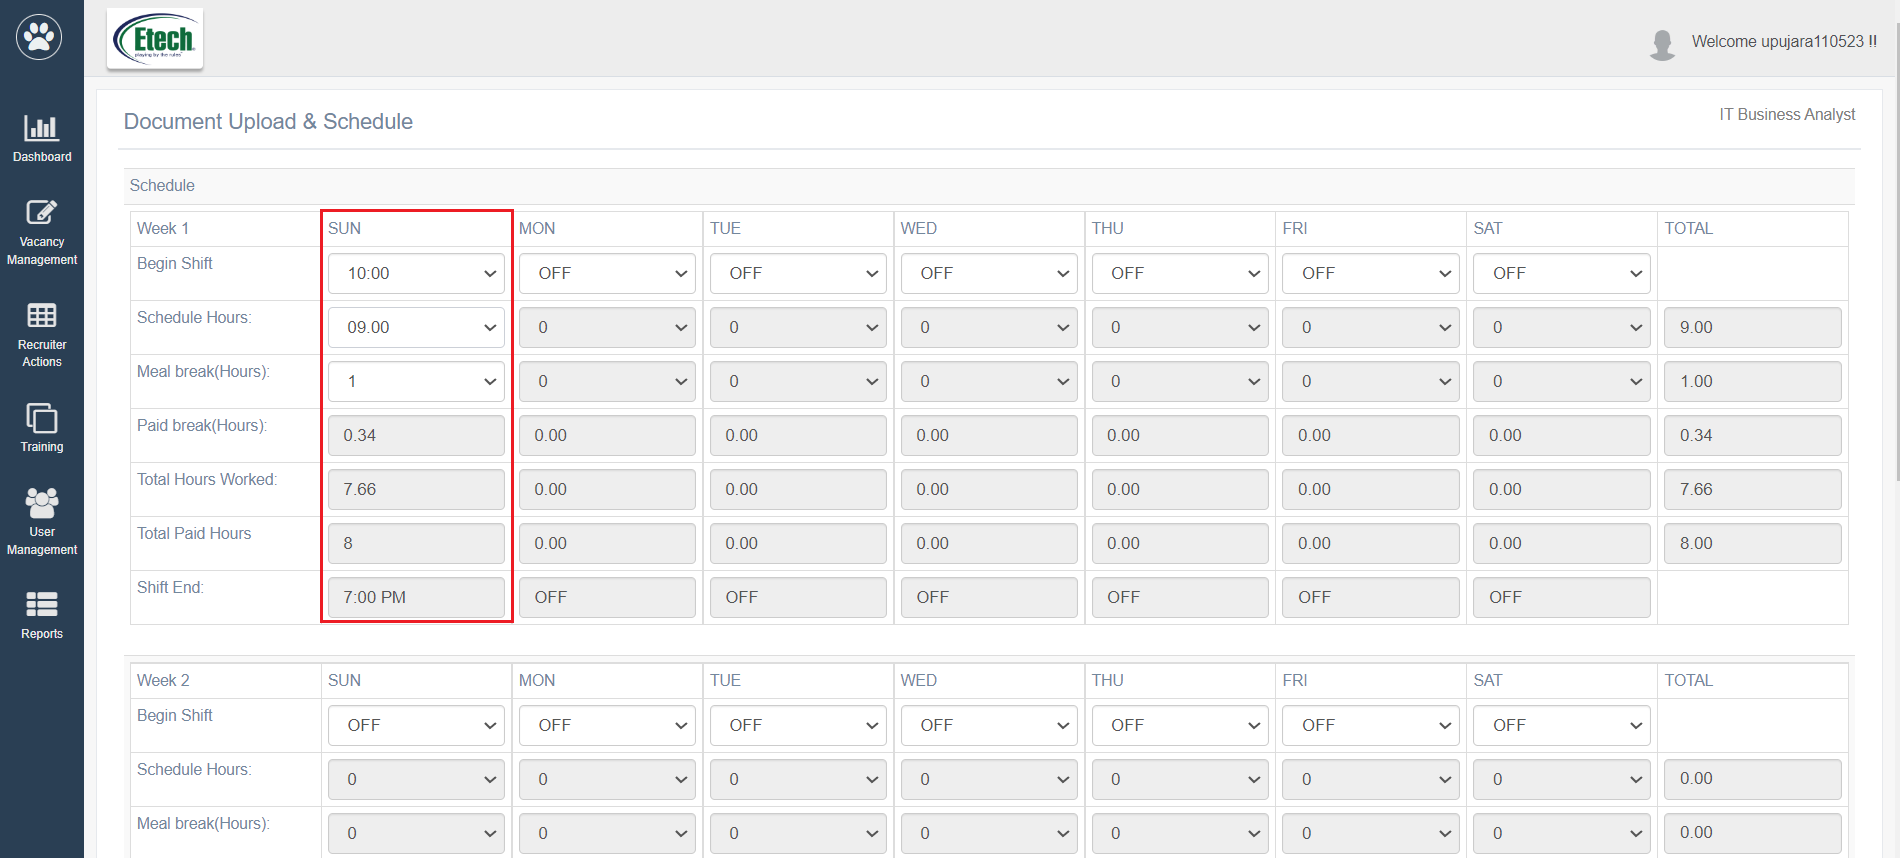
The recruiter can also change the Meal break(Hours) if required. If this information is updated, then accordingly other fields will also get updated.
In this way, for all the weekdays, the recruiter can configure the work shift for the candidate.
The recruiter can directly save the configured shift hours by clicking on the Submit button.
Document Upload
In this section, the recruiter can upload any 5 documents of the candidate like Address Proof, Identity Proof or certificates, etc.
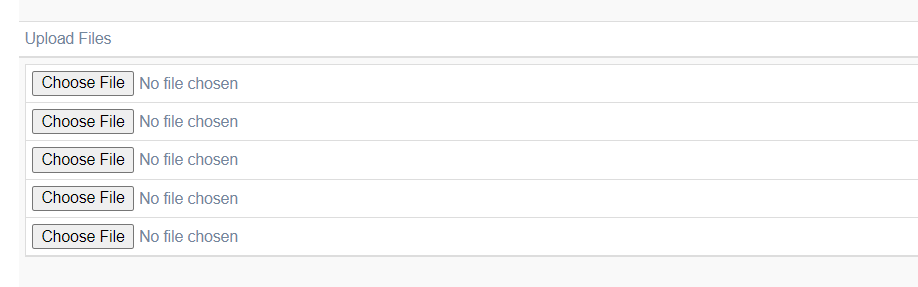
To upload any file, click on Choose File button. Select the document from the local system and upload it. Once uploaded, the name of the document will be displayed in the following format.
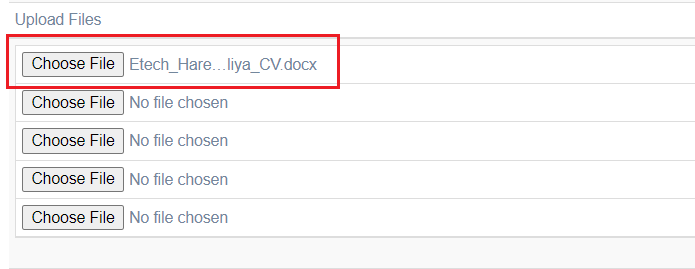
In this way, the different documents can be uploaded to the system.
The recruiter can directly save the uploaded document by clicking on the Submit button.
NOTE: Uploaded document will be renamed with the system-generated name to make it unique. The recruiters can download and view it at any time.