When a candidate passes all the Prehire stages – Offer Acceptance, Drug test, Background Verification, and Paper Verification – successfully, only then, the New Hire action tab will be displayed under the Action column on the Candidate List page of ATS.
On the day the candidate joins the organization, the recruiters can fill out the New Hire form and submit the candidate’s data to move it to the ERRIS database.
On the New Hire form, the recruiter can check if the newly hired employee was an ex-employee of the organization. Enter all or necessary information for the newly hired employee like Employment Type, Joining Date, Transportation Details, etc.
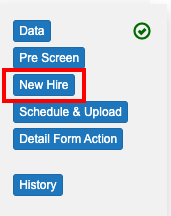
To access this page, select Recruiter Actions > Candidate List > New Hire tab.
The New Hire form will be displayed as shown below:
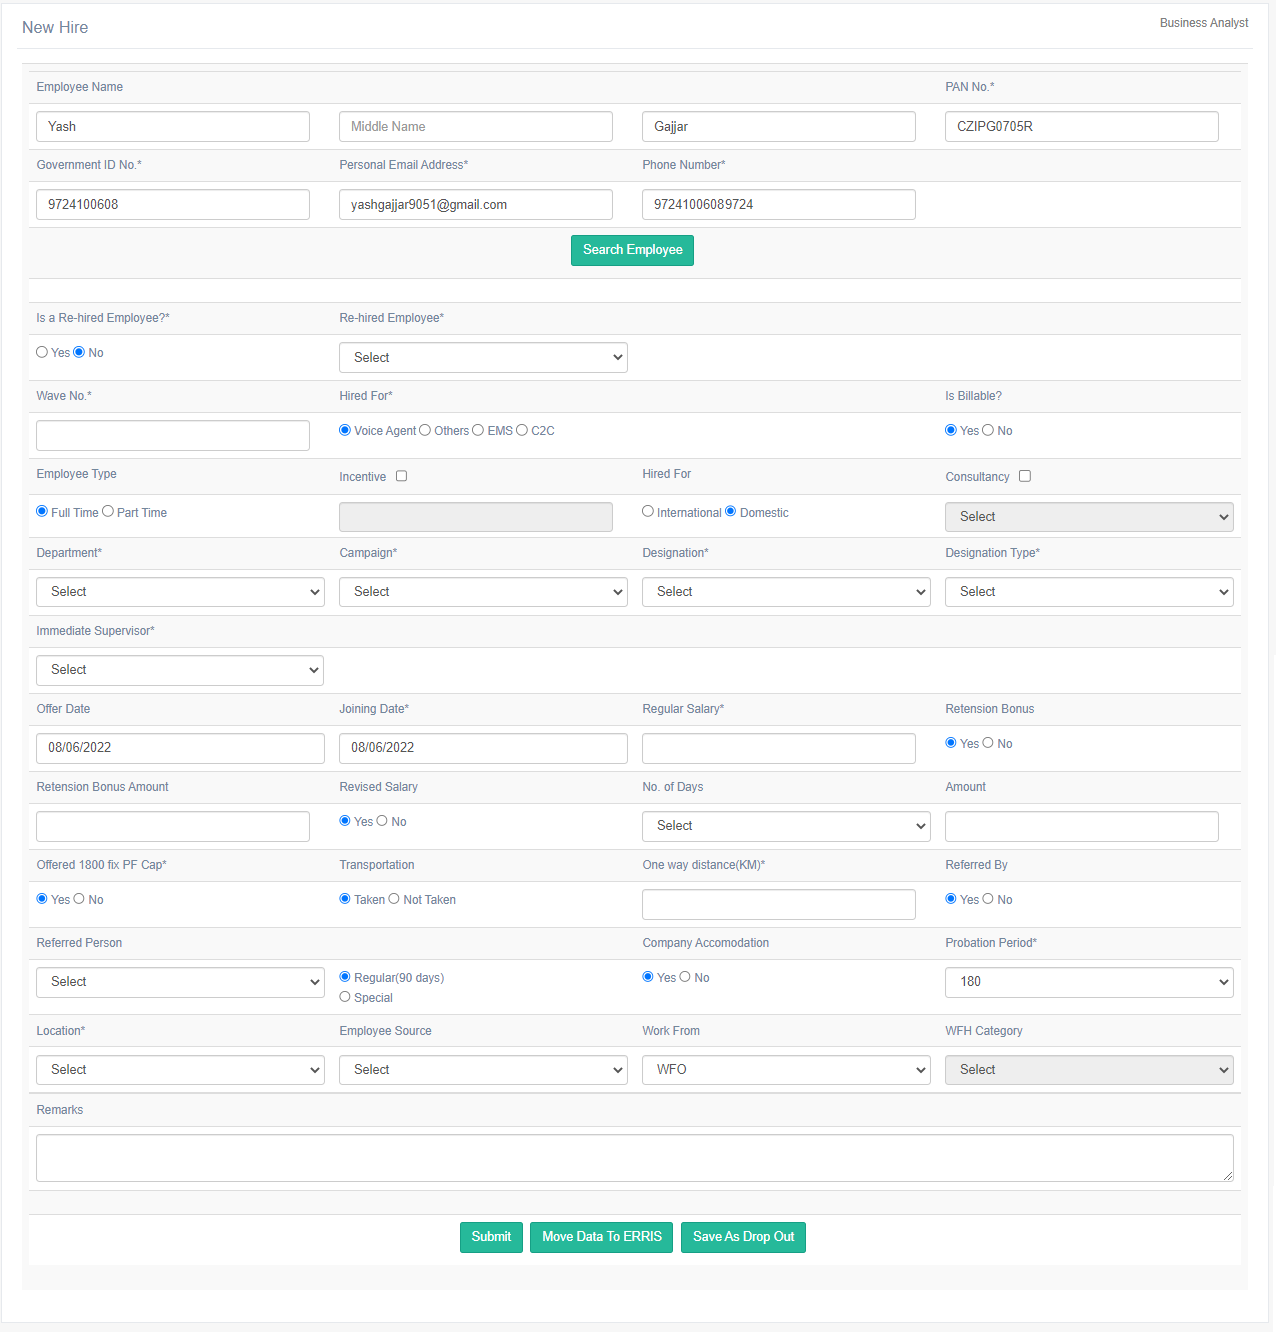
The first step for the recruiter is to check if the newly hired employee was an ex-employee of the organization. So, configure the following fields:
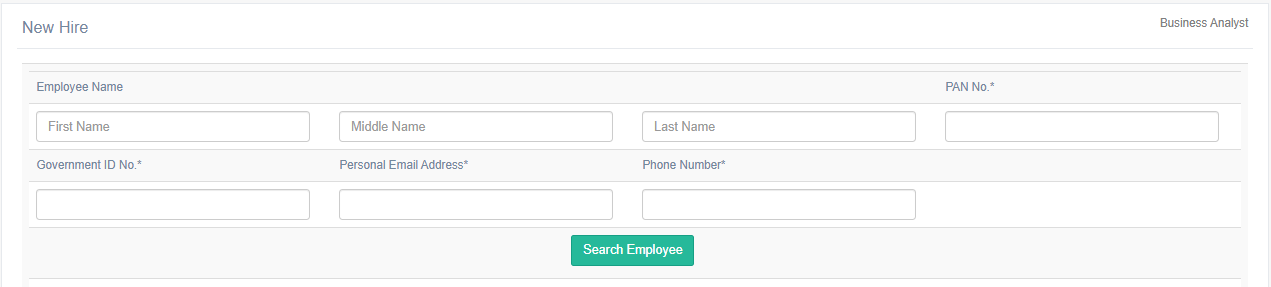
Enter the following information of candidates:
| Field | Description |
| Employee Name | Enter the full name of a candidate – First Name, Middle name, Last Name. |
| PAN No. | Enter the PAN number of the candidate. There must be exactly 10 characters entered in this field. |
| Government ID No. | Enter the Aadhar number of the candidate. There must be exactly 12 characters entered in this field. |
| Personal Email Address | Enter the personal email address of the candidate. There must be @, .com characters entered in this field. |
| Phone Number | Enter the personal phone/contact number of the candidate. There must be @, .com characters entered in this field. |
Once all the above-mentioned fields are configured, click on the Search Employee button.
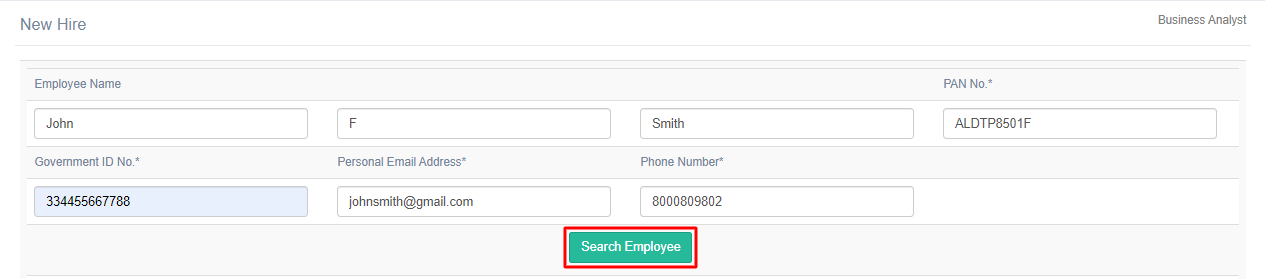
When clicked on this button, ATS will check for the above-configured details – Name, PAN no., Government ID No., Personal Email Address, and Phone Number – in the database.
MATCH FOUND
If any matching data is found in the database, that means the specific candidate is an ex-employee of the organization.
In that case, a pop-up will be displayed as shown below:
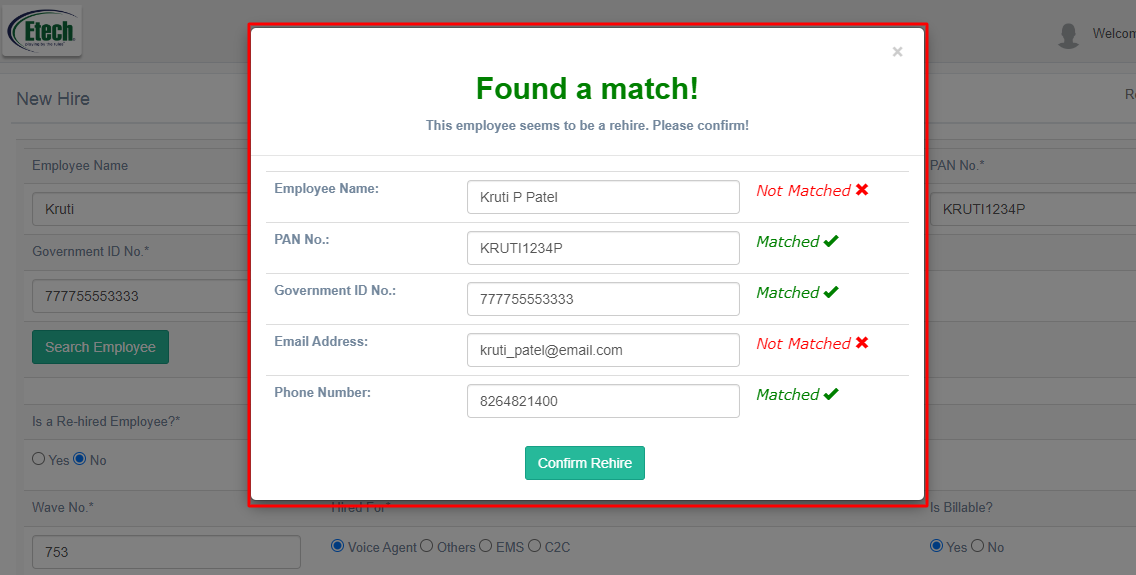
On this pop-up, matching and not matching information with the information already available in the database will be displayed.
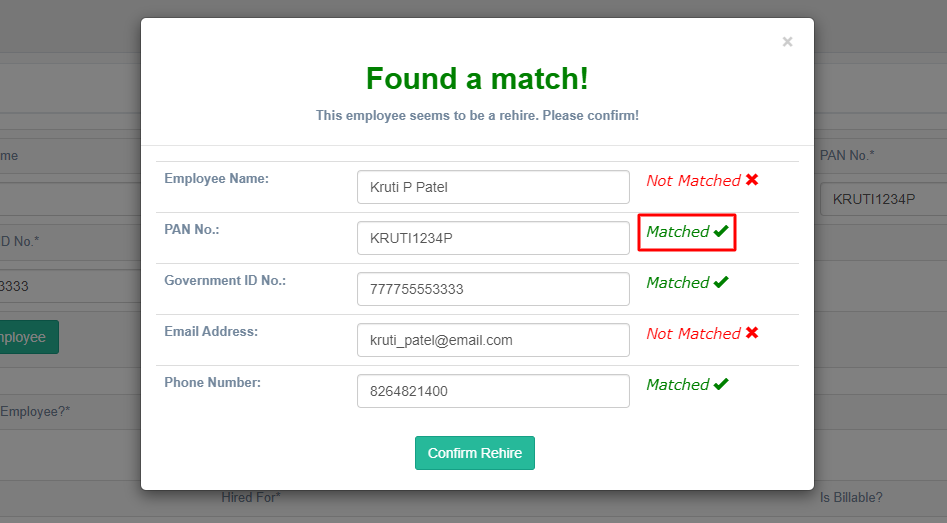
- If the information entered on the New Hire page matches the information available on the database, then the Matched status will be displayed in green font colour.
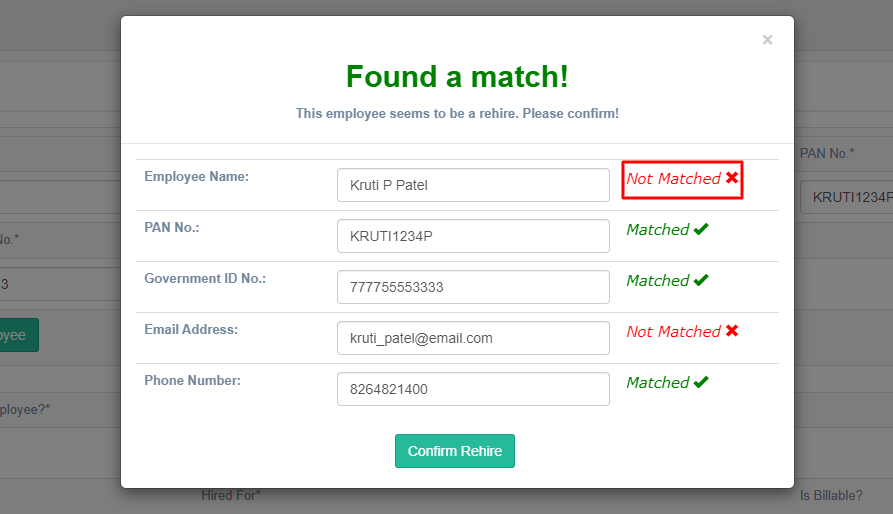
- If this information entered on the New Hire page doesn’t match with the information available on the database, then the Not Matched status will be displayed in red font colour.
Following details entered by the recruiter on the New Hire page and their matching status with the details available in the database – Matched and Not Matched – will be displayed:
- Name
- PAN No.
- Government ID No.
- Email Address
- Phone Number
Note: All the fields on this pop-up will be in read-only mode.
Click on the Confirm Rehire button to confirm that the details displayed on the pop-up match with the details in the database, and the recruiters are confirming that it is a rehire scenario.
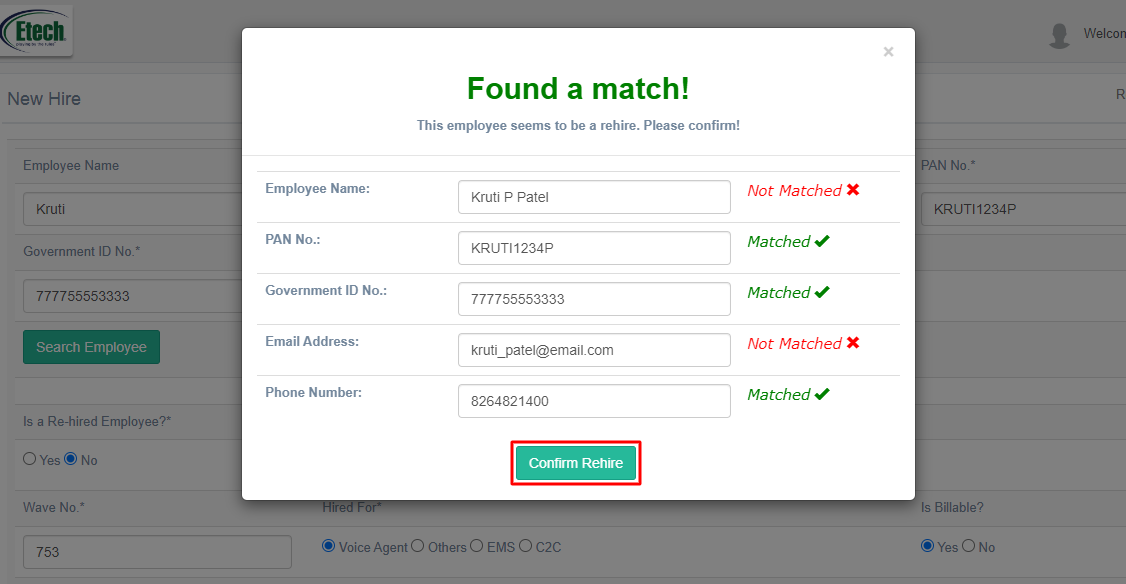
To close the pop-up, the recruiter can click on the cross icon.
WHEN TO CONFIRM THE REHIRE PROCESS
Following are the scenarios for the recruiter to confirm the Rehired candidate:
- If all the following details are matching with the respective details available on the database, then the Found A Match! pop-up will be displayed and the recruiters can confirm the rehire process.
- Name
- PAN No.
- Government No.
- Email Address
- Phone Number
- If the following combination is matching with the respective database details, the Found A Match! pop-up will be displayed and the recruiters can confirm the rehire process:
-
- Name + PAN No.
- Name + Government ID No.
- Name + Email Address
- Name + Phone Number
- If any of the two out of all the five fields – Name, PAN No. Government ID No., Email Address, Phone Number – are matching with the respective database details, then the Found A Match! pop-up will be displayed and the recruiters can confirm the rehire process.
- If the Name doesn’t match, then out of the remaining four fields, any two details are matching with the database details, then the Found A Match! pop-up will be displayed and the recruiters can confirm the rehire process.
MATCH NOT FOUND
When the Search Employee button is clicked, and if no matching data is found in the database, then the following pop-up will be displayed:

Click Cancel to close the pop-up.
If employee information is available in the database, and the recruiter confirms the rehire process, then the system will mark a particular candidate as a Rehired employee.
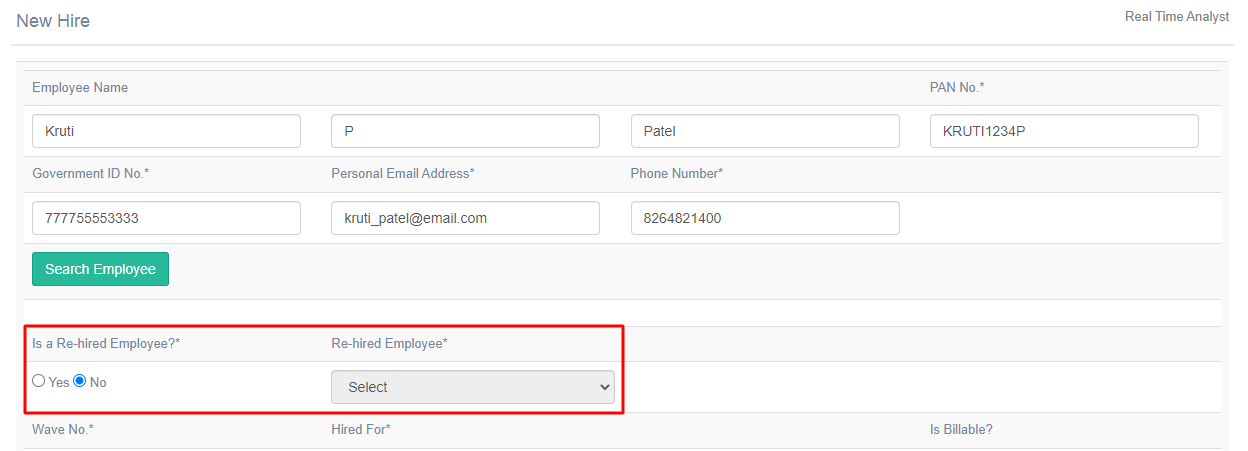
- Is a Rehired Employee? & Rehired Employee: The recruiter will also be able to manually determine whether the hired employee was an ex-employee of the organization by selecting Yes or No.
- If the recruiter clicks on the Confirm Rehire button from the Found A Match! pop-up, the Is a Rehired Employee? field will automatically be selected as Yes and Rehired Employee dropdown field will display the name of the candidate and his/her clock number that is saved in the system’s database.
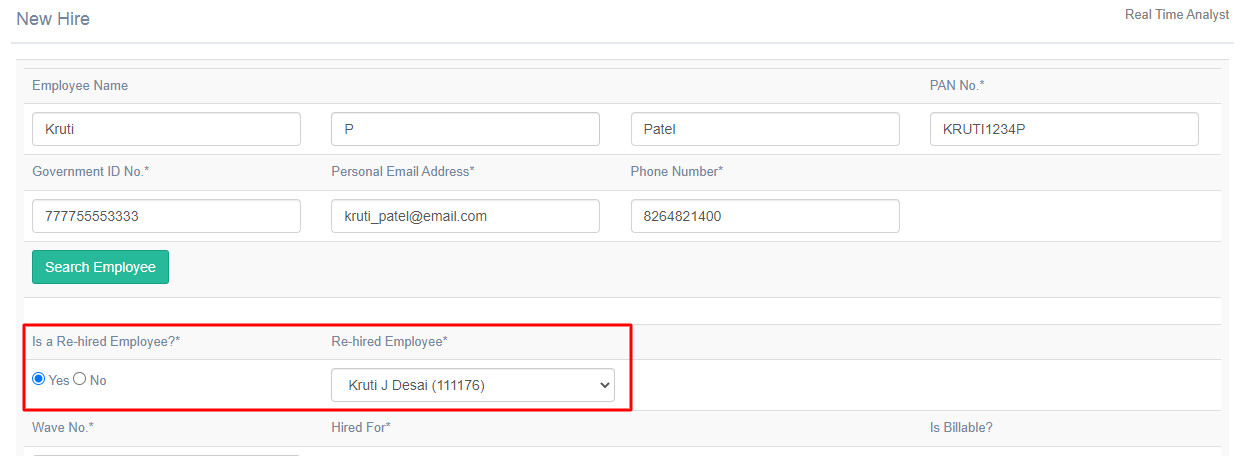
Note: Rehired Employee dropdown field will display the name and clock number of all the Etech employees with Active, Terminated, or LOA as status.
- If no matching candidate data is found in the database then, Not Found! pop-up will be displayed, then the Is a Rehired Employee? field will automatically be selected as No and Rehired Employee dropdown field will be displayed in a disabled state (non-editable).
OTHER NEW HIRE INFORMATION
Now, configure the following information for the candidates on the New Hire page.
| Field | Description |
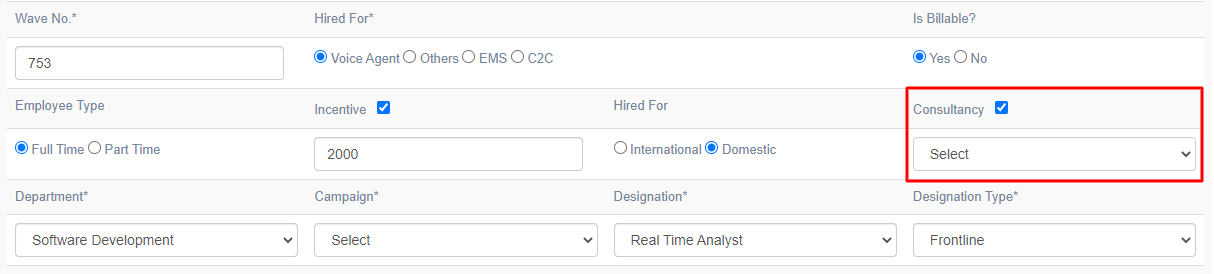
| Wave No. | Enter the Wave number in this text box field. |
| Hired For | Select one option to state what the new candidate is hired for:
|
| Is Billable? | Select one option:
|
| Employee Type | Select the employment type of the newly hired employee from the options:
|
| Incentive | The recruiter should select the checkbox if this parameter is applicable to the newly hired employee.
Once the checkbox is selected, only then a text box field will be displayed in the editable mode for the recruiters to enter the Incentive amount. If the checkbox is not selected, then the text box field will be displayed in the disabled state (non-editable) mode.
|
| Hired For | Select the region of the newly hired employee from the options:
|
| Consultancy | Select the checkbox if the new employee is hired through any Consultancy.
Once the checkbox is selected, only the Consultancy dropdown will be displayed in the editable mode for the recruiters to select the required Consultancy from the dropdown list, through which the new employee is hired. If the checkbox is not selected, then the Consultancy dropdown will be displayed in the disabled state (non-editable) mode.
|
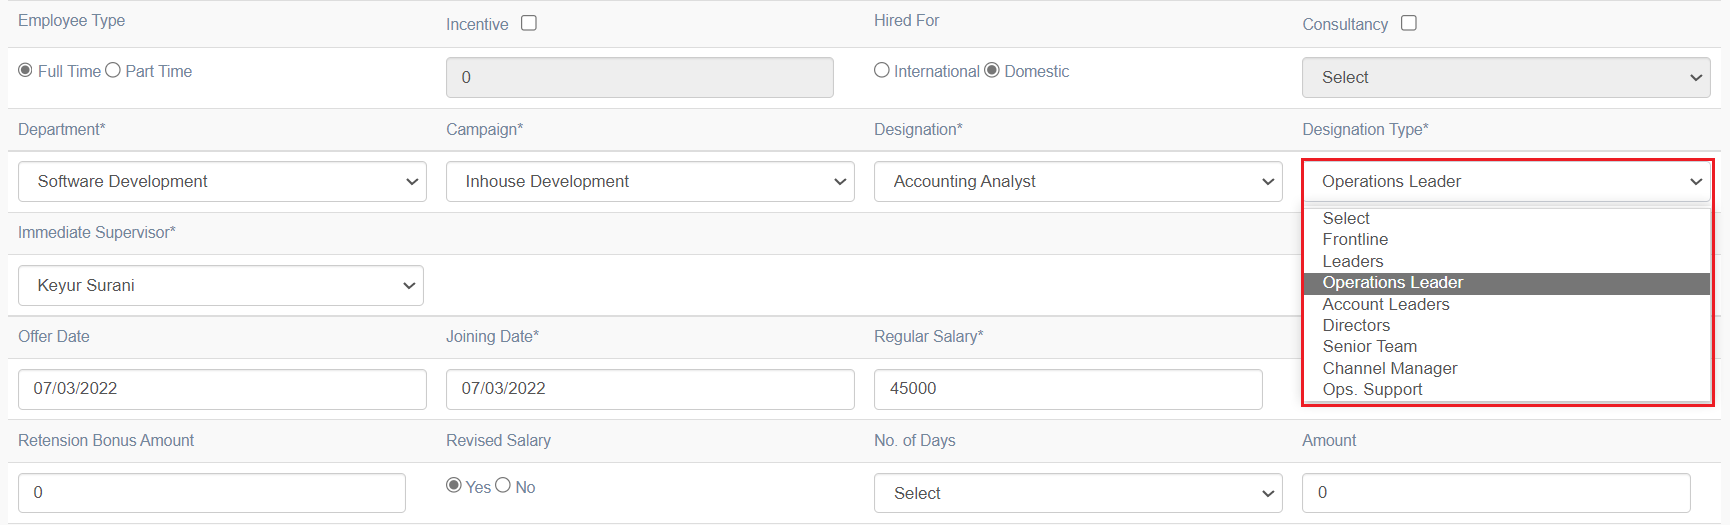
| Department | Select the Department from the dropdown list to assign it to the employee. |
| Campaign | Select the Campaign from the dropdown list to assign it to the employee.
Note: Based on the selection of the Department, this Campaign dropdown options list will be displayed. |
| Designation | Select the required designation from the dropdown list to assign it to the employee.
Note: Based on the selection of the Campaign, the Designation dropdown option list will be displayed. |
| Designation Type | Select the required designation from the dropdown list to assign it to the employee.
|
| Immediate Supervisor | Select the Immediate Supervisor from the dropdown list of the employee.
Based on the selection of the Department and Campaign, the Immediate Supervisor dropdown list should be displayed. |
| Offer Date | Select the date when the employee was offered the job from the date-picker.
The format of the date will be DD/MM/YYYY. |
| Joining Date | Select the date when the employee joined the organization from the date-picker.
The format of the date should be DD/MM/YYYY. |
| Regular Salary | Enter the salary amount of the employee. |
| Retention Bonus | Select Yes if the employee is eligible for receiving the retention bonus, else select No. |
| Retention Bonus Amount | Enter the bonus amount that the employee will be eligible to receive while his/her retainment for the job. |
| Revised Salary | Select Yes if the salary amount of the employee is revised, else select No. |
| No. of Days | Select the number of days from the dropdown list.
The dropdown list should display:
|
| Amount | Enter the salary of the employee. |
| Offered 1800 fix PF Cap | Select Yes if the employee was offered the 1800 fix PF Cap, else select No. |
| Transportation | Select Taken if the employee will be availing the organization’s transportation facility, else select Not Taken. |
| One way distance (KM) | Enter the one-way distance in KM between the organization and the employee’s residence for availing the transportation facility. |
| Referred By | Select Yes if the employee was referred for the job by any Etech Employee, else select No. |
| Referred Person | If Referred By is selected as Yes, then select the name of the Etech Employee who referred the newly hired employee. |
| Regular / Special | Select one option:
|
| Company Accommodation | Select Yes if the employee will be availing the company’s accommodation facility, else select No. |
| Probation Period | Select the probation period from the dropdown list which is to be served by the new employee. |
| Location | Select the work location of the employee from the options:
|
| Employee Source | Select the source of the job application received from the employee. |
| Work From | Select the option from the dropdown list about where the employee is working.
|
| WFH Category | If the Work From is selected as WFH, then select the WFH category from the following options, that the employee will fall under based on using the system for working.
|
| Remarks | Enter remarks or comments if required. |


Clicked on Submit button to save the configured details on the New Hire page for the newly hired employee.
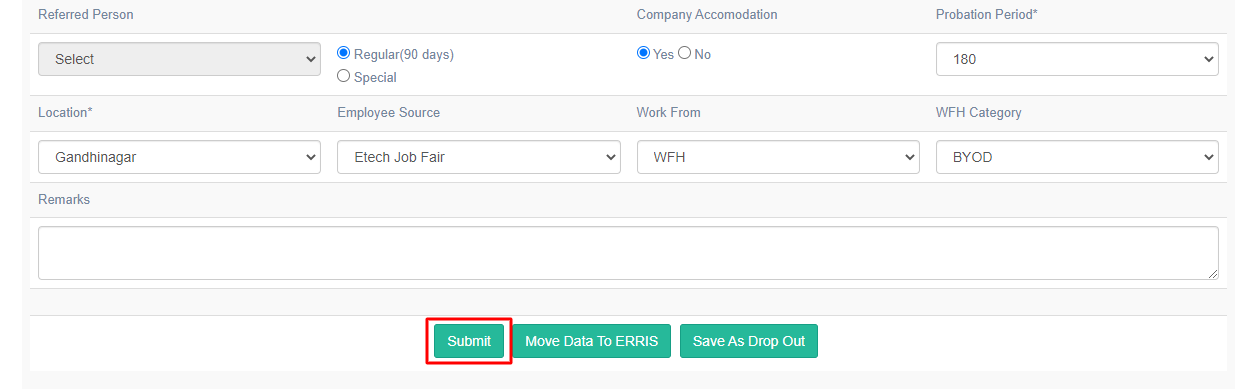
HIRE IN PROGRESS
The recruiter can save an incomplete New Hire form for a newly hired employee on ATS by clicking on Submit button and can complete the form any time before moving it to ERRIS. The status of that candidate will be displayed as Hire In Progress on the Candidate List page.
 HIRED
HIRED
Once the candidate is hired and has joined the organization, the recruiter can move the New Hire form to the employee Database i.e., ERRIS, by clicking on the Move to ERRIS button.
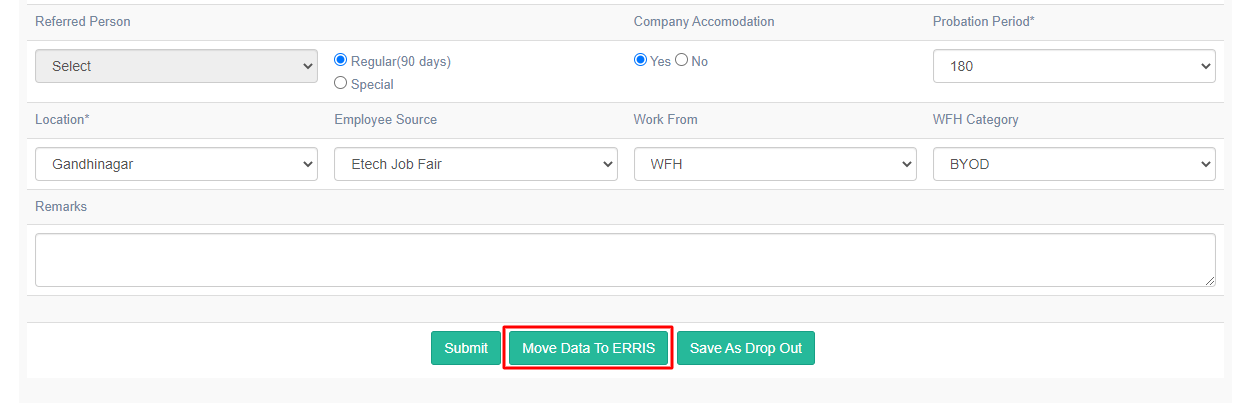
Note: Once the New Hire form of any candidate is moved to ERRIS, then the recruiter will not be able to edit any details of that candidate on ATS.
When clicked on this button, a confirmation pop-up should be displayed as shown in the following screen:
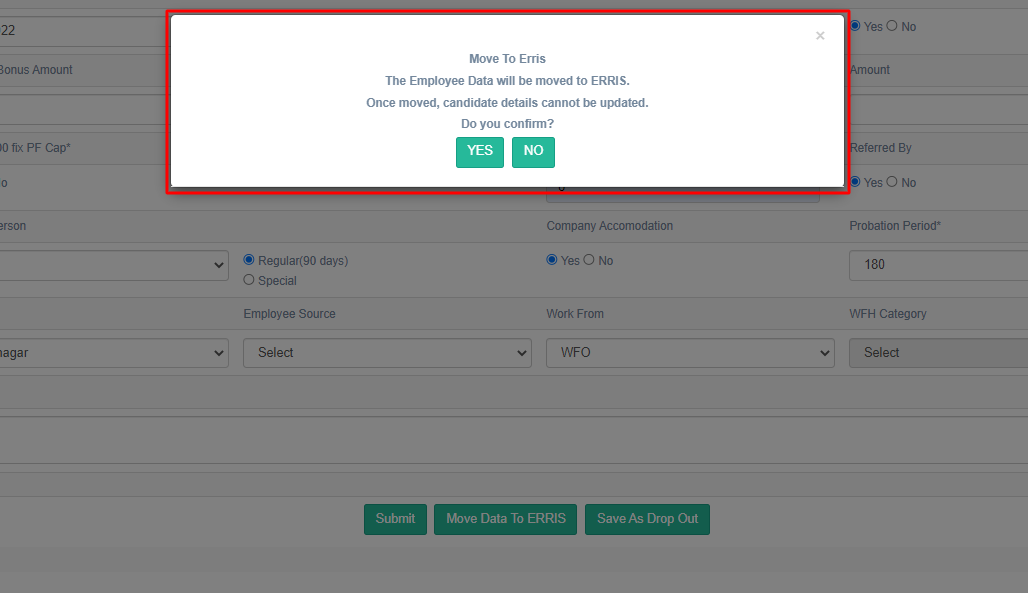
This pop-up will have 2 buttons – Yes and No. When clicked on the Yes button, the employee data will be transferred to ERRIS. When clicked on the No button, the pop-up will be closed and the data will be saved in the ATS itself.
To close the pop-up, the recruiter can click on the cross icon.
Once the employee’s data is transferred to ERRIS successfully, the Status on the Candidate List page should be displayed as Hired as shown on the following screen:
 DROP OUT
If the candidates do not show up on the day of their joining and do not wish to join the organization, then the recruiter can click on Save As Drop Out button.
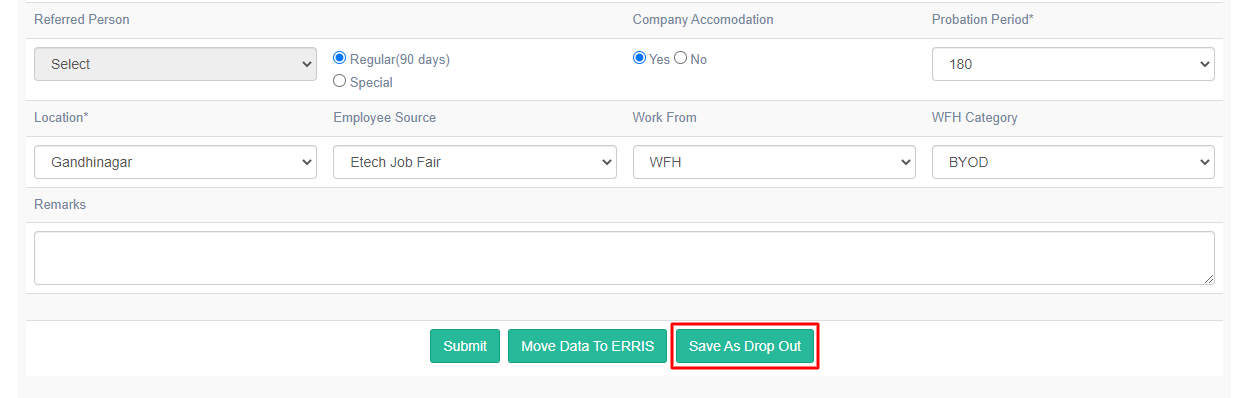
A confirmation pop-up should be displayed as shown below:
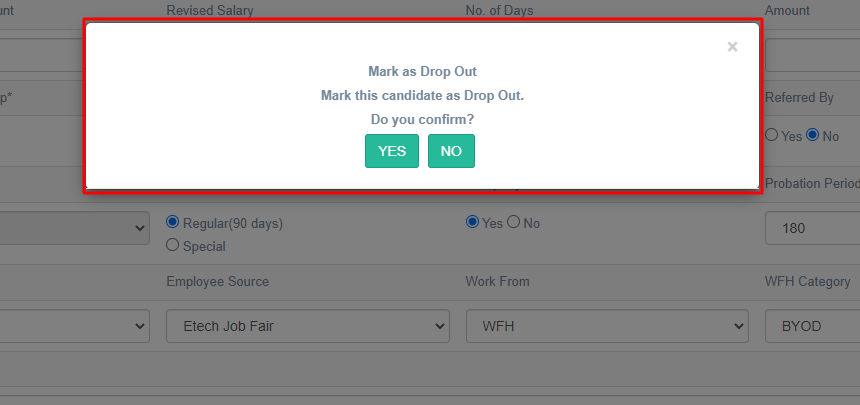
This pop-up will have 2 buttons – Yes and No. When clicked on the Yes button, the candidate status will be marked as Drop Out.
When clicked on the No button, the pop-up will be closed. To close the pop-up, the recruiter can click on the cross icon.
Once the Drop Out status is marked for the candidate successfully, the Status column on the Candidate List page should be displayed as Drop Out as shown in the following screen:
